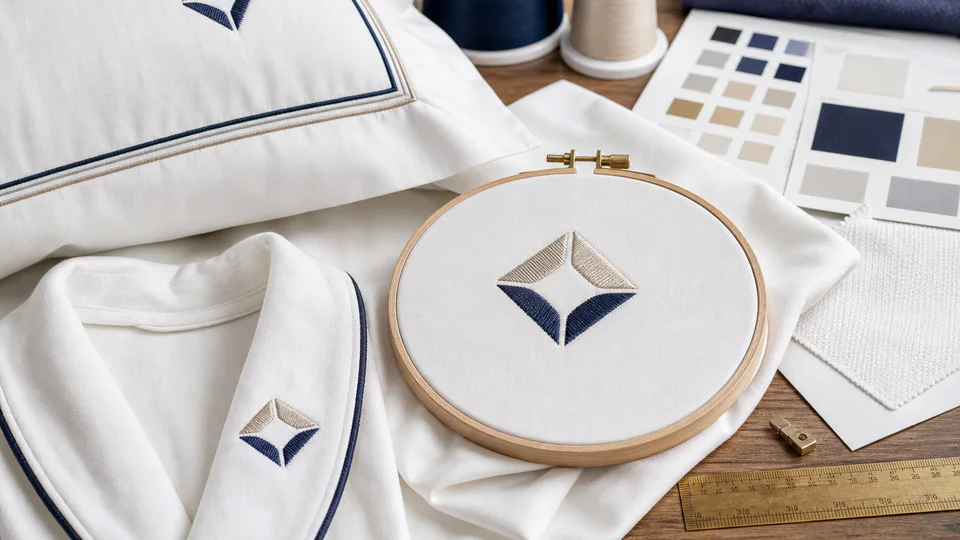
Embroidery is both artwork and textile construction. Approval must cover the physical sew-out on the final fabric, not only logo shape and color on a digital proof.
Start from one approved artwork source
Provide vector artwork where possible, brand colors, minimum clear space, orientation and rules for alternate versions. Identify whether the mark includes registered symbols, small text or fine lines that may not translate at the requested size.
Assign an artwork owner and revision. Messages, screenshots and copied web logos should not compete as production sources. The technical pack should show the exact file name, version, physical dimensions and product placement.
Review digitizing as a construction decision
Embroidery software converts artwork into stitch paths, densities, underlay, sequence and trims. The result must suit the actual base fabric. Dense fill can distort light sheeting, while pile or quilted surfaces may require different underlay and stabilization.
Request a digitizing proof with dimensions, stitch count and thread-color references, but do not approve from a screen alone. The physical sew-out shows edge definition, puckering, coverage and how the design interacts with the textile.
Specify thread, backing and placement measurably
Record thread material, color reference, sheen direction and any color sequence. Define backing or topping, removal method and acceptable reverse-side finish. For guest-contact surfaces, review comfort and loose material as well as front appearance.
Measure placement from stable product edges or seams in both directions. A phrase such as lower corner is not inspectable. For pillowcases, robes or towels, account for folds and hanging presentation so the logo is oriented correctly in use.
Approve on the real product after care
Run the embroidery on production-representative fabric, color, layers and finished component. Review artwork fidelity, dimensions, thread color, tension, puckering, backing, placement and product appearance. Then apply the intended wash and dry process.
Recheck shrinkage around the design, color migration, thread condition, hand and reverse-side comfort. Use the sample-gate framework to state whether a sew-out approves digitizing only or the complete product execution.
Carry the approved reference into bulk inspection
Seal the approved sew-out or finished sample with the controlling artwork and thread references. During production, check first output for placement, dimensions, tension and visible defects before the full lot proceeds.
Add logo version, color, orientation, placement tolerance and workmanship to the final inspection checklist. If fabric, stabilizer, thread or machine settings change materially, assess whether a new approval is needed.
Define how nonconforming embroidery will be handled before bulk starts. Some defects can be safely reworked, while needle damage, dense stitch removal or visible backing marks may make repair unacceptable. Require the supplier to record affected quantity, correction method and reinspection rather than concealing repairs inside finished cartons. Keep rejected logo files and thread colors clearly blocked so an obsolete version cannot return on a later shift or reorder. Audit the first packed cartons against the approved logo reference.
Freeze the artwork version, digitizing file, thread, backing and measured placement with a cared-for sample. Use that complete reference for bulk release and inspection.