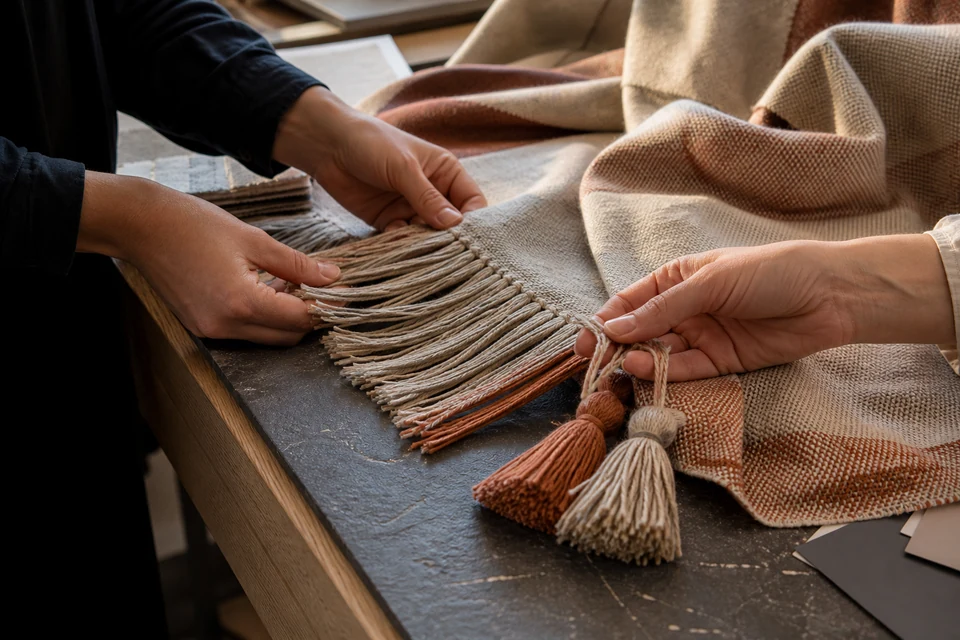
Fringe and tassels shape the presentation of a decorative throw, but they also introduce cut yarn ends, repeated attachment points and loose components that can change during handling and care. A styled sample may hide uneven spacing, weak bundles, color mixing, long tails, tangling or edge distortion. Buyers should define whether fringe is an extension of the body yarns, separately inserted, knotted, twisted, braided or attached as a trim, because each route creates different inspection points. Tassels need their own construction and placement record; an appearance photograph is not enough to show internal anchoring or repair rules. The correct evaluation depends on the intended market, user group, care label and applicable safety requirements, particularly where long cords or detachable components may be relevant. This guide does not declare one fringe length, pull force or fiber suitable for every throw. It shows how to freeze the approved design, observe handling and care effects, sample bulk across the edge and preserve evidence without making unsupported fiber, durability or safety claims.
1. Define fringe and tassel construction
Start with yarn source and attachment route, not a mood-board image
Record whether fringe comes from body warp, an added yarn bundle or a separate manufactured trim. Specify yarn or trim identity, color reference, ply or bundle construction, finished length, twist or knot route and relationship to the woven edge. For tassels, document head, skirt, cord or loop construction and the internal attachment. Link every component to the bill-of-materials control guide so visible substitutions follow an approval route.
Review market-specific product and safety requirements for the actual design, including long cords, small detachable parts and user age where applicable. Do not treat a supplier's generic trim declaration as finished-product evidence. The buyer should determine which tests or documentation are required for the destination and product scope, and keep that work separate from the visual inspection described here.
- Identify body-derived fringe, inserted yarn or separate trim.
- Specify bundle, twist, knot, head and attachment construction.
- Freeze physical color and component references.
- Review destination requirements for the actual finished design.
2. Map placement, spacing and finished length
Edge rhythm needs measurable landmarks and corner rules
Draw each decorated edge and name corners, transitions and tassel positions. Define finished fringe or tassel length from the woven or sewn edge under a stated hanging or flat condition. Record bundle spacing, bundle yarn count where controlled, corner treatment and permitted end variation. For plaid or stripe designs, state how color sequence aligns with the body; do not allow operators to rebalance colors by eye without a controlled rule.
Measure across the full edge at predefined positions, including corners and joins. Review body-edge straightness and whether dense knots draw in the fabric. The pattern repeat and panel-matching guide helps when trim color or placement must follow a motif. Preserve the approved edge laid flat and hanging because gravity can reveal length and density differences that are less obvious on the table.
- Map every decorated edge, corner and tassel location.
- Define length and spacing from named finished landmarks.
- Control color sequence for patterned or multicolor designs.
- Review the edge both flat and naturally hanging.
3. Evaluate attachment through controlled handling
Observe the construction without inventing a universal pull limit
Define a handling sequence that reflects intended use and packing: gentle separation, folding, unfolding, draping and the approved controlled pull or attachment check. State where force is applied, sample conditioning, equipment if used, repetitions and acceptance language before testing. A tassel head, fringe bundle and woven edge may require different methods. Avoid using an informal hard tug as proof of a numeric strength claim.
Inspect yarn breakage, knot movement, bundle withdrawal, seam opening, edge distortion and partial detachment. When a component moves, record the original position and construction rather than trimming the evidence away. The attachment-strength inspection guide provides a related evidence framework, but the actual method must be adapted and justified for soft yarn trims.
- Define handling actions, application point and sample condition.
- Separate fringe-bundle and tassel-attachment evaluations.
- Record movement, breakage and edge distortion by location.
- Avoid converting an informal pull into an unsupported rating.
4. Run care and packaging trials
Tangling and edge change often appear after processing and compression
Process samples using the approved care route and any protective bag or net specified for handling. Record load identity, wash, dry and finishing steps, then condition the throw without manually combing it into an ideal state before the first observation. Review tangling, matting, twist loss, color transfer, length change, knot security and body-edge distortion. If hand grooming is part of normal finishing, define it separately and record the before-and-after condition.
Fold and pack the throw using the intended retail or project configuration. Open it after the agreed storage or transit simulation and review trapped tassels, crease set, yarn pulls and presentation. Use the shelf-ready folding guide for retail packs or the sample receipt-condition guide for development shipments. Report only the evaluated sequence.
- Observe the cared sample before exceptional manual grooming.
- Record tangle, twist, color and attachment change separately.
- Test the actual fold so trims are not trapped or crushed.
- Keep care and packaging sequence identity with every result.
5. Inspect bulk and define repair and reorder controls
Sample across the entire decorated edge and production period
Inspect body and trim identity, edge map, length, spacing, color sequence, attachment, loose ends, tangling and pack presentation. Sample corners, starts, ends and middle zones rather than checking only one convenient bundle. Stratify by material lot and production period. Use the final inspection checklist to connect decorative findings with product count and shipment disposition.
Define which loose ends may be trimmed, which knots may be reset, when a tassel can be replaced and what evidence is required after repair. Reinspect the edge and pack presentation using the original method. Retain pre-care and cared references, trim samples and repair records for repeats. Buyers can request a full-size throw sample, review decorative textile directions and include trim construction in the buying brief.
- Sample corners, joins, middle zones and all tassel positions.
- Separate trim, repair, replacement and rejection dispositions.
- Reinspect repaired areas through the same handling and care route.
- Retain physical trim and cared-product references for reorders.
Control decorative edges from yarn to reorder: freeze trim construction and placement, define handling evidence, observe care and pack effects, sample the full edge and document every permitted repair.