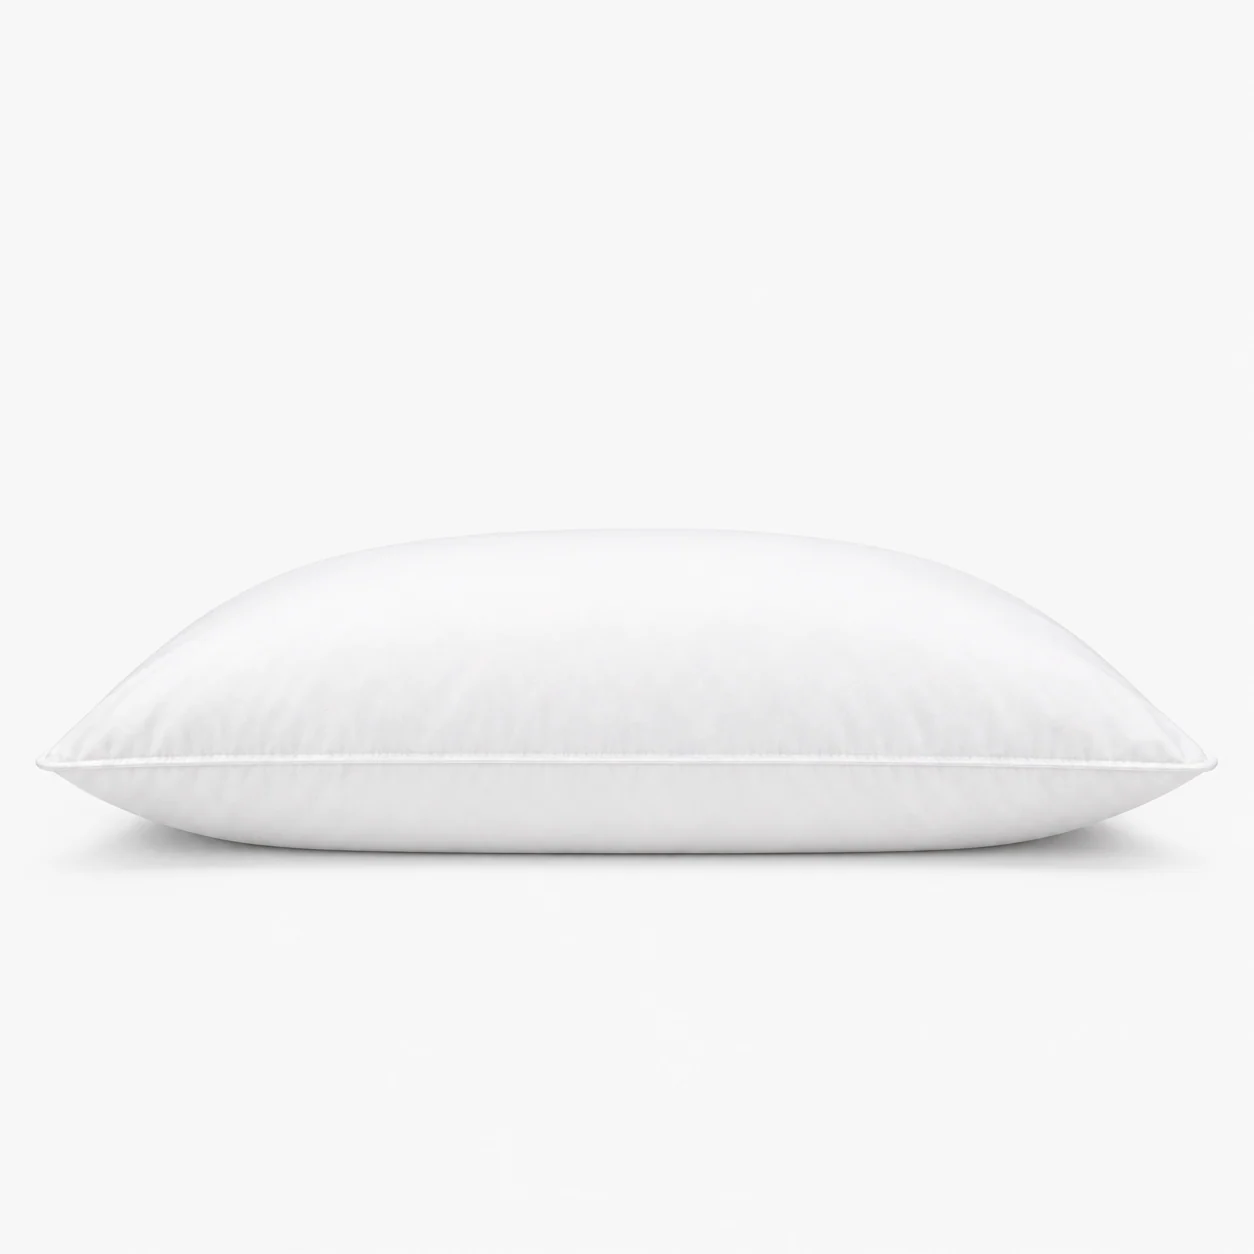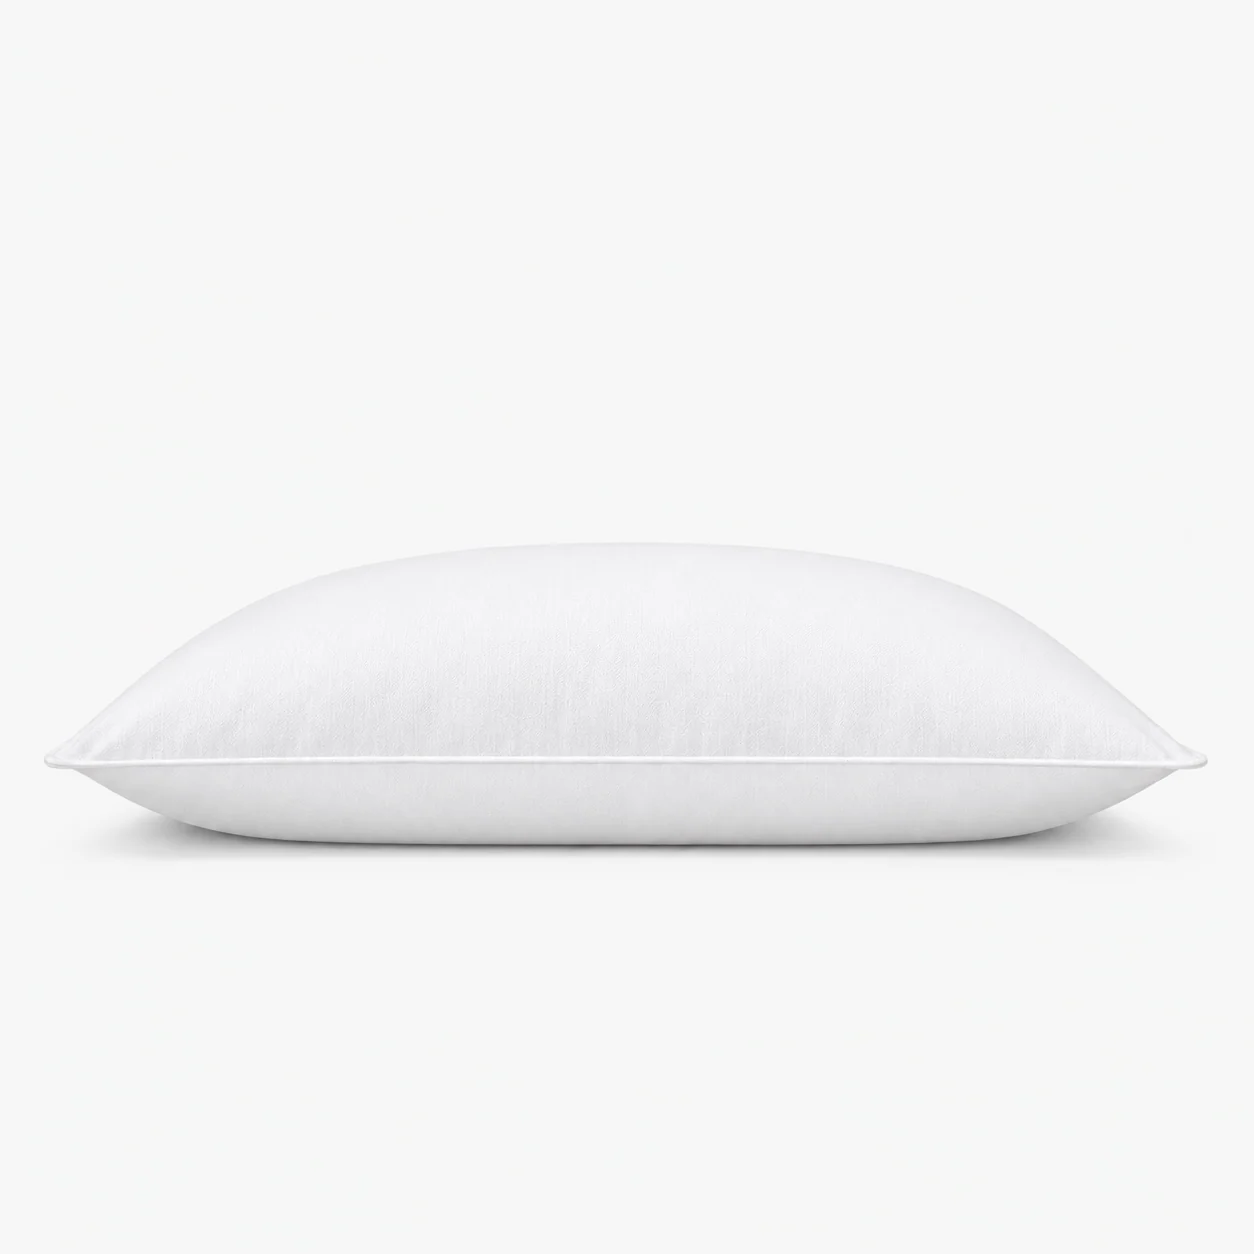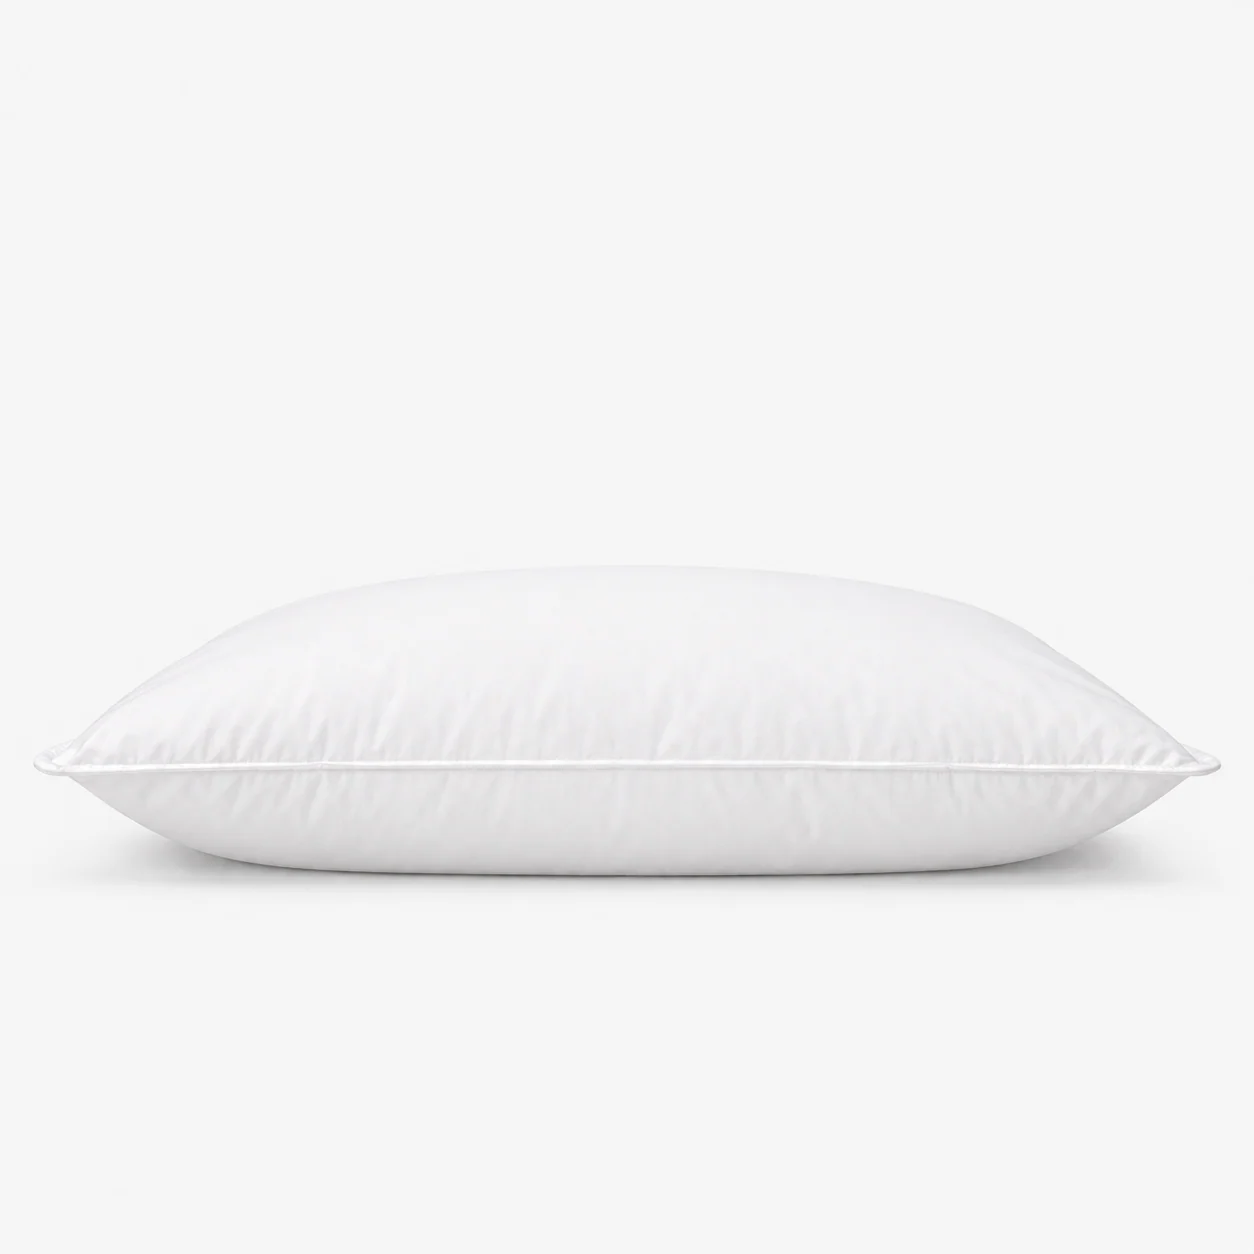
Decorative pillow shams affect the room image but frequently fail through loose fit, twisted flanges, visible closures or mixed orientation. A controlled specification connects the actual insert with finished dimensions, construction, fabric direction and the way housekeeping presents the complete pillow group.
Start with the production insert and desired fullness
Measure the insert in its normal filled condition and record its construction, fill weight and compressibility. Nominal insert names are not sufficient because loft changes the required cover volume. Define whether the sham should look tailored, softly filled or intentionally oversized, and confirm which insert face is meant to sit forward.
Create a size relationship for every approved insert rather than applying one deduction to all shapes. Coordinate pillow families with the hotel bedding specification sheet. Include the insert reference in the sham approval so a later fill change does not quietly alter the fit.
Define finished face, flange and corner geometry
State finished body width and length, flange width, stitch line, corner shape and acceptable tolerance. Clarify whether flange measurement starts at the body seam or finished edge. For mitered, square or rounded corners, provide a drawing and close photographs because general terms can be interpreted differently.
Check whether the flange stays flat when filled and placed upright. The fabric, interlining, seam allowance and stitch balance all influence the result. If piping is used, define cord size, bias or straight cutting, joins and the acceptable position of the closing seam.
Select a closure for appearance and service access
Compare envelope overlaps, concealed zippers, buttons and other approved closures against insertion time, guest contact, wash durability and visual exposure. An envelope needs enough overlap to retain the insert after care, while a zipper needs end stops, protected pullers and placement that does not distort the finished edge.
Specify closure direction and orientation so patterned or directional fabrics face consistently. If the sham has a clear top, add a durable identification cue. The component specification should follow the same approval discipline as the seam and stitch standard.
Control fabric direction, matching and shade
Define face and reverse materials, grain direction, nap direction, pattern placement and allowable matching across the front. For embroidered or printed designs, provide the artwork position from finished reference points rather than raw cut edges. Mark whether a design is centered to the sham body or the overall flanged shape.
Approve shade under the room lighting and beside the bedding, curtains and upholstery it must coordinate with. Establish a controlled color standard and production shade band where needed. Mixed shams are highly visible, so carton and room allocation should avoid random shade distribution.
Trial care, bed styling and reorder identification
Wash and finish a representative sham with the insert removed, then remeasure the body, flange and closure. Inspect seam grin, puckering, corner symmetry and ease of reinsertion. Ask housekeeping to style the complete bed and record the sequence, orientation and time required.
Label the finished size, insert code, face direction and property program discreetly but clearly. Keep an approved cared-for sample for replenishment comparison. Reorders should reference fabric, trim, artwork and construction revisions together; matching only the outer dimensions will not preserve the original room presentation.
Approve the cared-for sham on its production insert and in the complete room arrangement. The drawing should control body size, flange, corners, closure, orientation and artwork position.