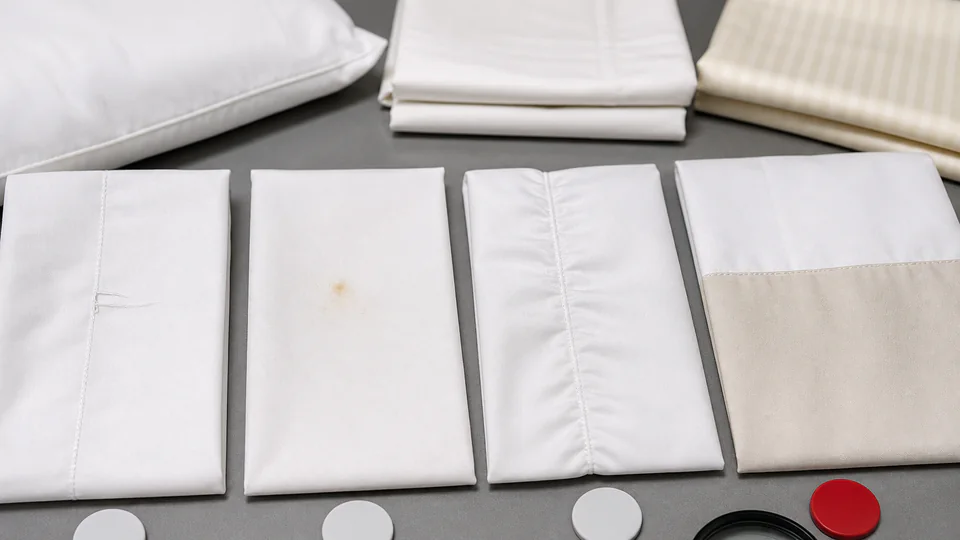
Defect class reflects consequence in a defined product context. A consistent illustrated library is more useful than relying on generic critical, major and minor labels.
Define classes from consequence, not appearance alone
Critical, major and minor terminology should be defined in the buyer's inspection protocol. Classification considers potential safety or legal impact, loss of intended function, inability to sell or use, visible appearance and reasonable customer expectation.
A small object or labeling error can carry greater consequence than a larger cosmetic mark. Conversely, a noticeable shade or construction issue may be major even when function remains. Avoid classifying solely by physical size.
Make examples specific to product and location
The same issue can have different significance on a guest-contact surface, hidden seam, decorative reverse or retail package. Define products, zones, colors and viewing distance where relevant. A white hotel pillowcase and a textured decorative throw require different appearance examples.
Use drawings or photographs to identify seam, panel, corner, closure, label and packaging locations. Reference the released specification and approved sample. The defect library clarifies interpretation; it does not authorize features outside those controls.
Build a shared illustrated defect library
For each recurring issue, record name, definition, likely class, acceptable boundary where one exists, photograph, product context and date. Include fabric faults, stains, shade, measurement, seams, skipped stitches, broken components, fill distribution, labels, packing and assortment.
Review examples with supplier and inspection teams before production. Keep clearly acceptable workmanship examples as well as defects; this prevents every normal construction feature from becoming a subjective argument during inspection.
Create an escalation route for borderline findings
Inspectors should record evidence rather than silently reclassify an unfamiliar issue. Define who can decide a new or borderline defect, what photographs and measurements are needed and how quickly the buyer must respond.
Separate defect classification from lot disposition. The class feeds the sampling decision, while the buyer may also consider pattern, severity, special tests, customer impact and repair feasibility.
Use defect data to improve the process
Track defects by style, line, operation, lot and period. Pareto review can identify recurring failure modes, but teams should investigate occurrence and escape causes rather than only sorting finished goods.
Update the library when construction, market requirements or customer feedback changes. Feed clear examples into operator training, inline checks and the corrective-action process. A mature library reduces repeated debates and improves prevention.
Calibrate the library with real samples when photographs cannot show hand, depth, shade or three-dimensional construction. Mark each sample with style, defect, class and approval date, and replace faded or damaged references. Periodic calibration should include inspectors, factory quality staff and the buyer decision owner. Record disputed decisions and the reasoning used, then add the resolved example to training. This creates consistency across shifts, factories and inspection agencies instead of relying on one experienced person's memory. Retire examples when specifications change, and record the replacement.
Agree examples before inspection, document borderline cases and keep classification separate from the final lot decision. Use defect trends to improve production controls.