Thread is often hidden inside a seam, but its strength, elongation, size, finish and color affect sewing stability and product life. Buyers should approve a named thread with the fabric, seam, needle and care process, then prevent untested line-side substitutions.
Define the complete thread reference
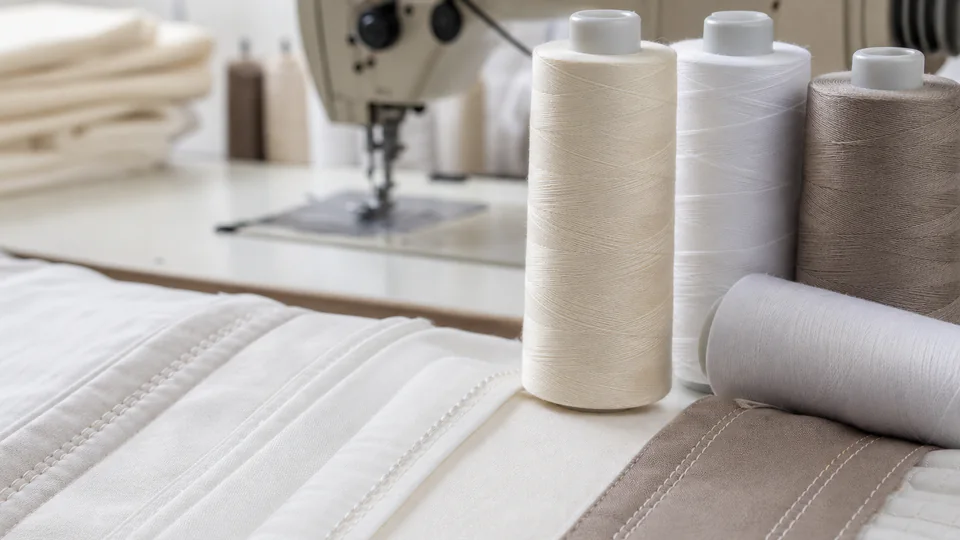
State fiber type, spun or filament construction, ply, ticket or linear size, color, finish, supplier and product reference. Clarify which thread is used for needle, looper, quilting, embroidery, overlock and any visible topstitching. Similar-looking cones can behave differently in strength, stretch, heat and abrasion.
Place the approved reference in the bill of materials and technical drawing. If multiple sources are approved, identify them individually and keep the evidence for each construction rather than treating all polyester thread as equivalent.
Match thread size and behavior to the seam
Review fabric weight and density, seam type, stitch class, loading direction, expected stretch and guest-contact surface. A heavy thread may create stiffness, puckering or needle damage; an undersized thread may break in sewing or service. Decorative topstitching needs visual consistency as well as structural performance.
Connect thread selection to the seam and stitch specification. Approve the complete seam on production material at intended stitch density, not thread strength on a certificate alone.
Control needle compatibility and machine settings
Select needle system and size with the thread and fabric, then observe heat, fraying, skipped stitches, seam grin and fabric damage at production speed. Confirm tension, guides, lubrication and cone condition. A stable sample sewn slowly may not represent a high-speed production line.
Record critical setup at first-piece approval and after thread-lot or material changes. Operators should not compensate for wrong thread by excessive tension. Repeated breakage, lint or needle heating should trigger technical review instead of becoming accepted waste.
Test seam performance through the intended care route
Assess seam strength, slippage, elongation and appearance as relevant to the product. Launder, dry, press or sterilize representative items using the intended process, then inspect thread shrinkage, melting, discoloration, abrasion and loss of seam balance.
Include dark and light colors where dye or finish may change behavior. Define methods and limits in the product testing plan. Retain cared-for seam samples so later lots can be compared with the approved result.
Control shade, storage and substitutions
For visible seams, approve thread shade against the finished fabric under agreed lighting. Store thread clean, dry and protected from excessive heat, sunlight and contamination. Incoming checks should confirm label, reference, color, lot, cone condition and any required performance data.
Require approval before changing supplier, size, finish, color route or manufacturing location. Use the supplier change workflow to decide which sewing, seam and care trials must be repeated. Trace important production lots to the thread lot where practical.
Monitor consumption, breakage and repair data by line. A sudden rise can indicate lot variation, damaged guides, incorrect needles or an unstable finish even when final seams still pass inspection. Investigate the process signal before it becomes visible product failure.
Approve a named thread inside the production seam after the intended care process. Control fiber, construction, size, finish, color, needle pairing and all alternate sources.