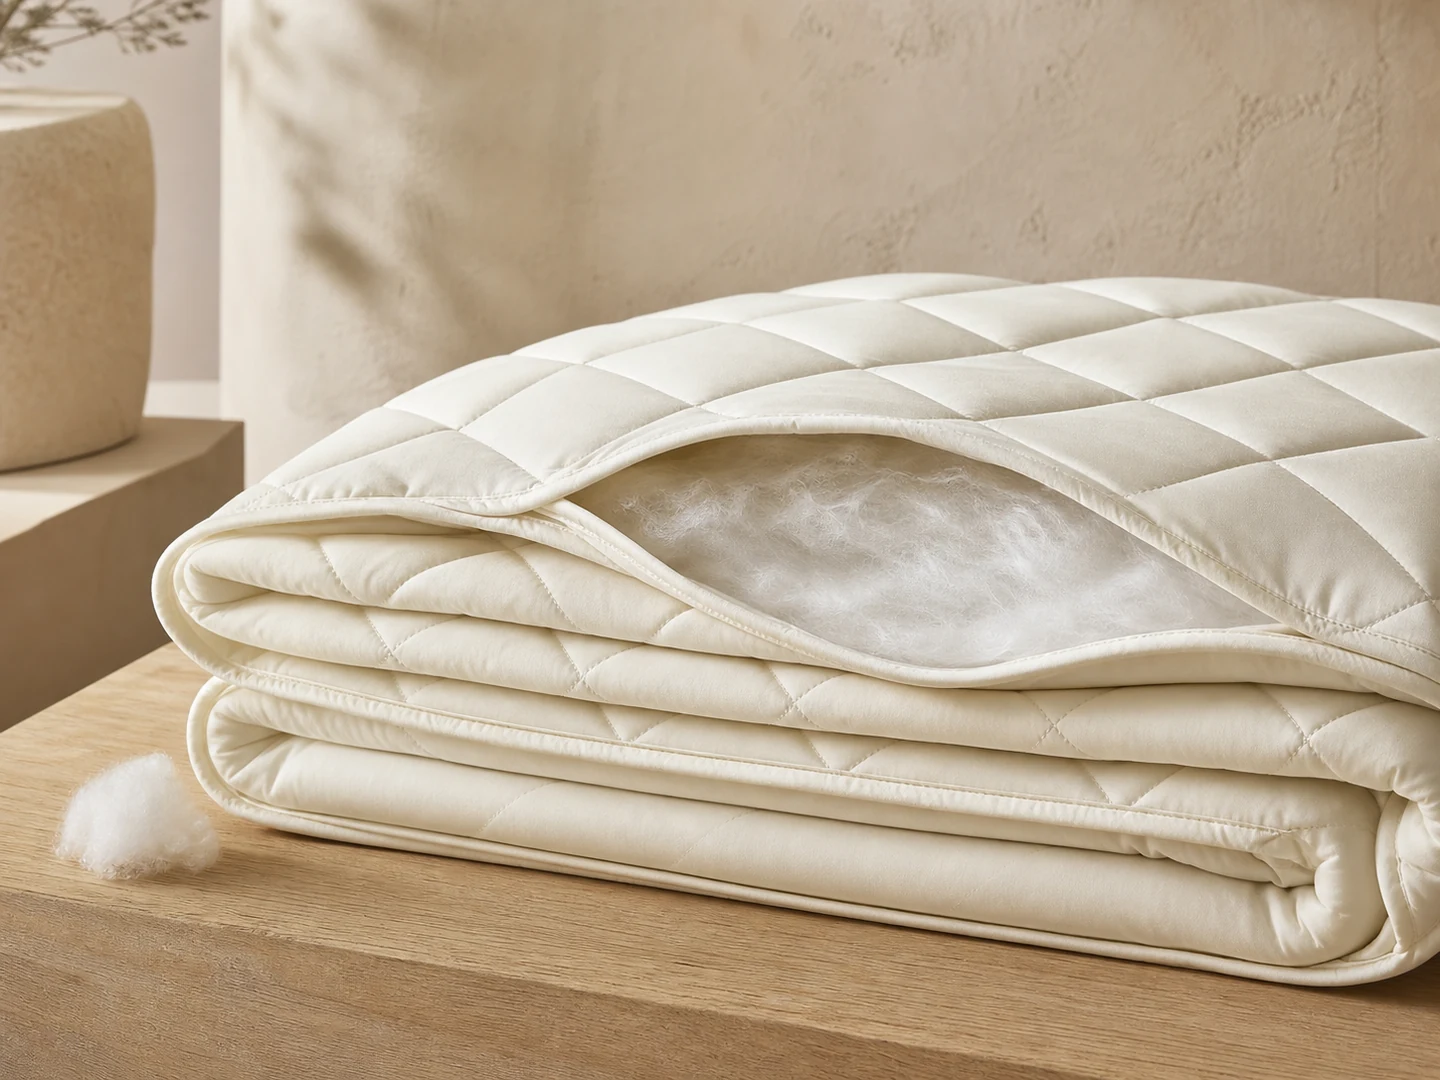
A duvet can meet total fill weight while still feeling uneven because fill distribution, internal walls and closure points are not controlled. Migration inspection should examine where the fill sits, how chambers communicate and what happens during normal handling. This guide gives buyers a practical framework for comparing approved samples with bulk production without inventing durability conclusions from one visual check.
Define the chamber design and reference sample
Know what distribution the construction is intended to maintain
Record finished dimensions, chamber layout, baffle or channel construction, fill material, target fill weight and any zone-specific design. A box, channel and sewn-through construction manage movement differently, so the inspection method must reflect the approved design. Use the golden-sample workflow to preserve the physical reference and revision.
Clarify whether the specification allows intentional variation between edge and center zones. Do not interpret every difference as a defect before reviewing the design purpose. The approved sample should be conditioned, identified and protected from repeated handling that could make it an unreliable reference.
- Record chamber map and construction revision.
- Identify fill type and target total weight.
- Define any intentional zone-specific distribution.
- Protect and track the approved physical reference.
Condition the duvet and map inspection zones
Create repeatable observations before manipulating the fill
Allow packed duvets to recover under the project's defined conditions before inspection. Record time out of compression packaging, ambient conditions and any approved gentle lofting procedure. Apply the sample-conditioning discipline so one sample is not judged immediately after unpacking while another rests overnight.
Divide the duvet into a repeatable map covering corners, edges, center and representative chambers. Record weight or loft observations using the agreed method and equipment. A mapped approach makes local voids and accumulation visible and allows revised samples to be compared in the same locations.
- Use a defined unpacking and recovery period.
- Record approved lofting or preparation actions.
- Map corners, edges, center and chamber positions.
- Use the same observation method across samples.
Inspect baffle continuity and closure points
Look for unintended paths that allow fill movement
Use suitable transmitted light, careful palpation or another approved non-destructive method to inspect internal wall continuity. Pay particular attention to baffle ends, seam intersections, fill openings and repaired areas. Discontinuities can create a path between chambers even when the exterior stitching looks complete.
Compare stitch placement and edge finishing with the quilt binding and edge-finish guide. Record the location and length of gaps rather than using vague notes such as “uneven inside.” If destructive confirmation is required, define sample quantity and authorization before cutting any sellable unit.
- Inspect baffle ends and seam intersections.
- Check fill openings and closure stitching.
- Map every suspected internal discontinuity.
- Authorize destructive examination separately.
Run a controlled handling and redistribution check
Distinguish temporary packing effects from structural migration paths
Perform a defined sequence such as lifting, folding, gentle shaking and bed placement that represents normal handling without abusing the product. Inspect the same mapped zones afterward and record whether fill returns with normal adjustment or repeatedly escapes through a chamber path. Do not call this a lifecycle test unless the project has defined one.
Review clumps, thin zones and boundary crossing alongside fill-blend observations from the fill uniformity guide. Material entanglement, static, blend variation and baffle gaps can produce different patterns; the corrective action should follow evidence rather than appearance alone.
- Use one documented handling sequence.
- Reinspect the original mapped zones afterward.
- Separate recoverable compression from repeated migration.
- Link the observed pattern to a plausible controlled cause.
Classify defects and control the bulk decision
Translate mapped evidence into proportional action
Define acceptance categories for localized thinness, chamber-to-chamber leakage, incomplete baffles, closure failure and gross weight deviation. State sample size and decision rule for the project. A limited inspection can support a lot decision under that plan, but it cannot prove every unit or every future use condition.
When findings exceed the rule, isolate affected lots and compare machine, operator, fill batch and construction records before rework. Route corrected samples through the bulk-release approval gate. Buyers can send the chamber map and intended fill specification through FY Bedding project support for a scoped review.
- Define defect classes before bulk inspection.
- Record sample size and lot decision rule.
- Trace repeated findings to production records.
- Reapprove corrected construction before release.
Take one reported thin zone and trace its recovery condition, map position, baffle continuity, handling response and lot decision before assigning a cause or approving rework.