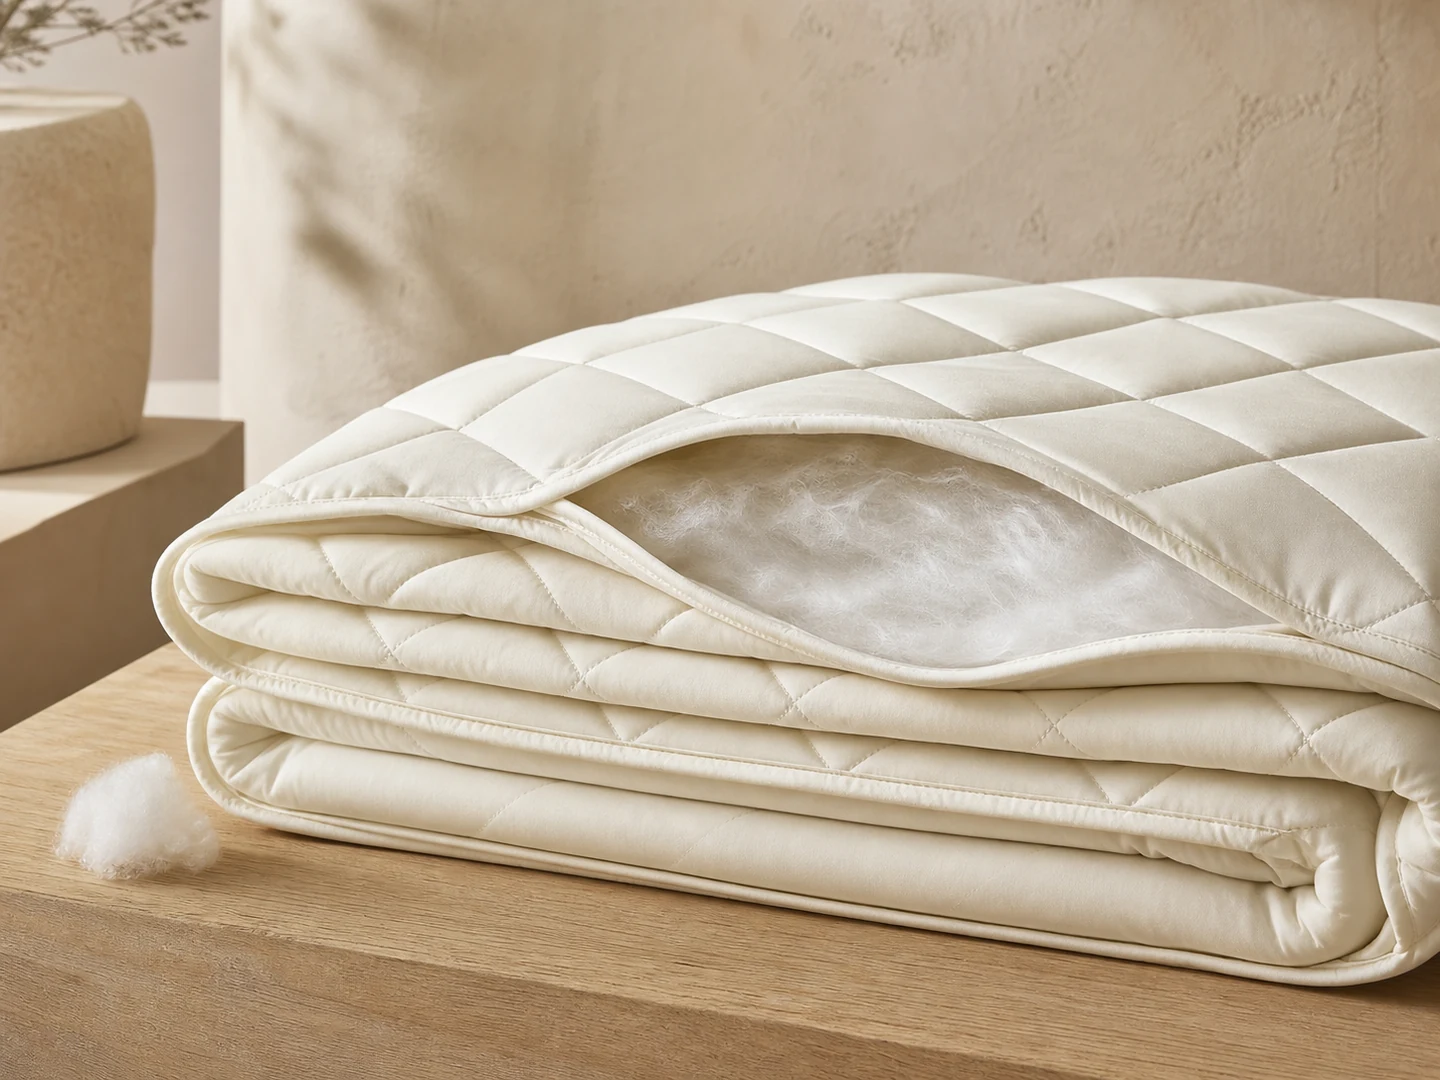
Binding protects and presents the perimeter of a quilt, comforter or filled cover, but a neat sample can hide weak production instructions. Tape material, cut direction, finished width, seam allowance, stitch placement and corner construction all affect appearance and durability. A buyer-ready specification should translate the approved edge into measurable requirements, realistic samples and inspection points that can be repeated across sizes and production lots.
Define the complete binding construction
Specify more than color and visible width
Name the binding material, composition if claimed, weave or knit structure, nominal input width, fold method, cut direction and finished visible width. State whether the tape is straight cut or bias cut where that distinction matters, and identify any piping or decorative insert. Put these components into the bedding bill of materials so the approved edge cannot be recreated with an unreviewed trim.
Describe how the shell, fill and binding meet at the perimeter. Include seam allowance, stitch type, rows, target stitch density, start and finish treatment and any back-tacking rule. The bedding seam and stitch specification guide provides a broader framework, but the edge detail still needs a product-specific cross-section or construction sample.
- Name tape material, structure and approved color.
- Define input and finished visible width.
- State cut direction, fold and seam allowance.
- Specify stitch type, density and join treatment.
Approve edge samples before the full quilt
Use corner and join trials to resolve construction risk
Ask for representative straight-edge, corner and tape-join samples using the intended shell, fill thickness and machinery. Thick fill can push the binding away from the edge, while slippery shells may twist during sewing. Approve these details within the pre-production sample workflow before evaluating only a finished quilt from a carefully selected development operator.
Compare mitered, rounded or folded corners according to the design intent and production capability. Record the approved method, acceptable bulk and the location of tape joins. If the product uses rounded corners, define the intended radius or a physical template. Retain a sealed edge reference and photographs, but keep measurable width and stitch limits so inspection does not depend on subjective resemblance alone.
- Approve straight edge, corner and tape join separately.
- Use actual shell and fill thickness in trials.
- Define corner method, radius and bulk limits.
- Retain a controlled physical edge reference.
Inspect binding workmanship by defect route
Check the full perimeter rather than one attractive corner
Inspect finished width, edge coverage, stitch position, skipped stitches, seam grin, puckering, exposed raw edges, twisting, waviness and loose ends around the complete perimeter. Include all corners and the tape join. Use the textile defect classification guide to define which conditions affect function, durability or prominent appearance and how they enter the lot decision.
Measure width at several defined positions on each side and near corners, avoiding only the easiest straight section. Record actual readings and defect locations. Compare top and underside because a clean face can conceal missed coverage below. If needle damage, shell cuts or fill leakage appears, investigate the setup and affected production window rather than trimming threads and returning the same item as evidence.
- Inspect face and underside around the full perimeter.
- Measure width at defined edge and corner locations.
- Record joins, puckering, misses and exposed edges.
- Trace recurring defects to machine and time window.
Evaluate edge behavior after the approved care route
Look for differential change between tape, shell and fill
Binding and shell may shrink, relax or distort at different rates. Run the agreed care route and review edge waviness, torque, corner shape, seam opening, color change and tape-to-shell differential. Connect dimensional readings to the bedding dimensional-stability test plan, identifying whether the product is measured before or after conditioning.
Use the same detergent, drying and cycle definition approved for the evaluation, and state whether the purpose is development screening or a formal claim. Do not infer a lifetime guarantee from a limited wash trial. When edge behavior changes, compare tape material, cut direction, feed balance, stitch tension and shell shrinkage before changing the visible width alone.
- Identify the exact care route and cycle count.
- Measure edge shape after consistent conditioning.
- Review tape, shell and fill interaction together.
- Keep development trials separate from claims.
Carry the approved edge into bulk release
Control first-off setup, sampling and material changes
At production start, compare the first completed edge and corners to the controlled sample and specification. Check tape identity, width, machine setup and join placement, then sample across shifts, sizes and relevant lines. The pilot production approval route is especially useful when thick fill or a new binding method creates handling risk that a small sample did not reveal.
Include edge workmanship in the final bedding inspection checklist with defined locations and defect categories. Any tape supplier, material, width, finish or sewing-process change should return through scoped approval. Keep retained production samples by lot where risk warrants so a later complaint can be compared with the actual bulk construction rather than only the original development sample.
- Approve first-off tape identity and machine setup.
- Sample across size, shift and production line.
- Include full-perimeter defects in final inspection.
- Reapprove material or process changes by scope.
Open one approved quilt specification and confirm that another factory technician could reproduce the tape material, finished width, seam, corner, join and inspection method without examining an unlabelled sample.