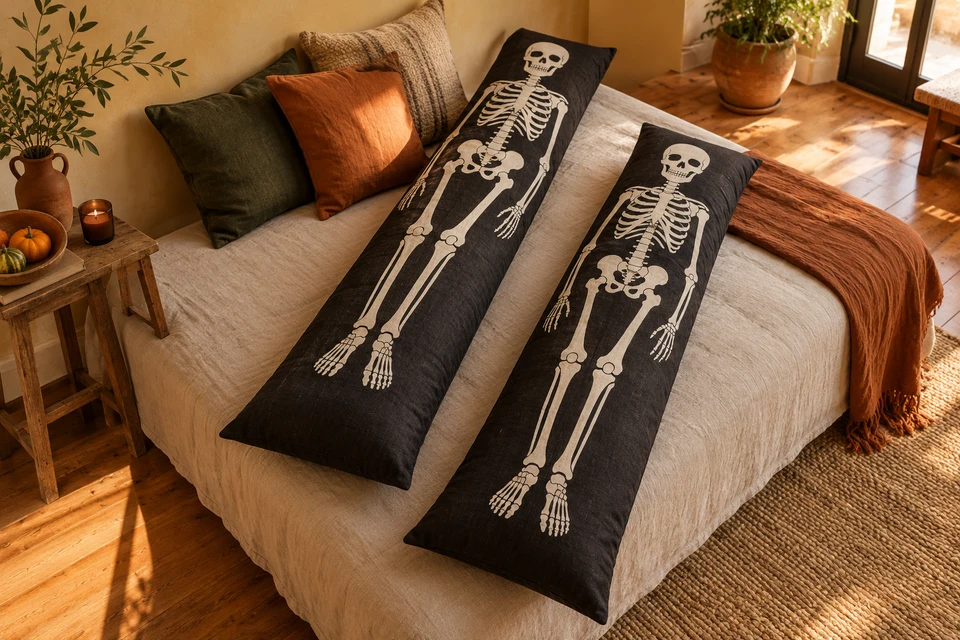
A skeleton designed for a long pillow is an engineered picture, not automatically an all-over repeat. When a retailer adds a shorter size, cropping the same file can remove the feet or push the skull into an end seam. The buying brief must connect each finished cover length to a deliberate artwork layout. Establish that relationship before comparing fabric prices or treating the smaller cover as a simple variation of the original.
Make a size-to-artwork matrix
Choose scaling or redrawing deliberately
List every finished cover size beside the artwork revision intended for it. Decide whether the complete skeleton will scale proportionally, whether its surrounding empty field will change, or whether the illustration requires a separately approved adaptation. Those are three different creative decisions. Do not let a production operator choose between them when the shorter cut panel reaches the printing stage.
Mark the top and bottom visible margins after sewing. The print placement guide explains why artwork boundaries and cutting boundaries need separate references. A complete image on a flat panel can still lose a small detail around a rounded, filled end. Leave the final margin decision to a physical sample rather than assuming the digital preview represents the filled product.
- Pair every size code with one approved artwork revision.
- Measure the visible end margins on the assembled cover.
Keep seam allowances outside critical anatomy
Protect the parts that identify the design
Draw a safe visible area for the skull, hands and feet, and show the seam allowances outside it. Avoid placing a narrow finger or foot exactly on the stitch line. Specify how the front and back panels meet, especially if the reverse has its own seasonal motif. A plain reverse and a second engineered print create different inspection and material requirements.
Use the size-set sample process to review the smallest and largest offered versions. A deliberately stylized skeleton is acceptable as a design choice, but an accidental crop is not the same choice. Record any intentional omission on the approved layout so the receiving team can distinguish artwork intent from printing or cutting errors.
- Mark details that must stay entirely on the visible face.
- Approve the smallest version independently, not by inference.
Position the opening around the intended display
A closure can change the apparent picture length
Ask where the opening, zipper or envelope overlap will sit when the cover is displayed on its intended insert. An end closure may occupy fabric that was counted as visible picture area. A long side opening may need a different handling trial. Describe the proposed construction rather than prescribing a closure without seeing the sample and the intended insert.
The zipper component checklist supports a zippered proposal but does not replace a trial of the complete long cover. Have a reviewer fit and remove the actual insert without stretching the printed face into a misleading shape. Record insert dimensions and whether the offer supplies the cover only; customer imagery should not silently imply an included filling.
- Confirm closure location on the same drawing as the print.
- State the insert used for approval and its inclusion or exclusion.
Inspect the length after the agreed care trial
Keep fit and graphic proportion linked
Prepare the care trial using the proposed materials, construction and instructions. Record the measurement method before the trial: whether the cover is empty, laid flat and smoothed, and where the endpoints are taken. Compare the finished length with the picture's apparent position. A fit change and a print-placement change should be recorded separately rather than summarized as one vague appearance issue.
Refer to the dimensional stability review when commissioning appropriate evidence. This guide supplies no universal shrinkage allowance or pass limit. The buyer and supplier should agree the relevant requirements for the actual market and use, then retain before-and-after photographs with the physical sample identity.
- Define how length and graphic margins will be measured.
- Do not infer care performance from a digital artwork proof.
Release sizes and quantities together
Prevent artwork mix-ups in a seasonal assortment
Build purchase lines that connect size, artwork revision, reverse fabric, closure and pack identification. Ask whether printing minimums apply by artwork or by fabric quantity and whether the size mix changes sampling cost. A supplier may propose grouping work to simplify production; review the consequences without assuming every size can share one approved layout.
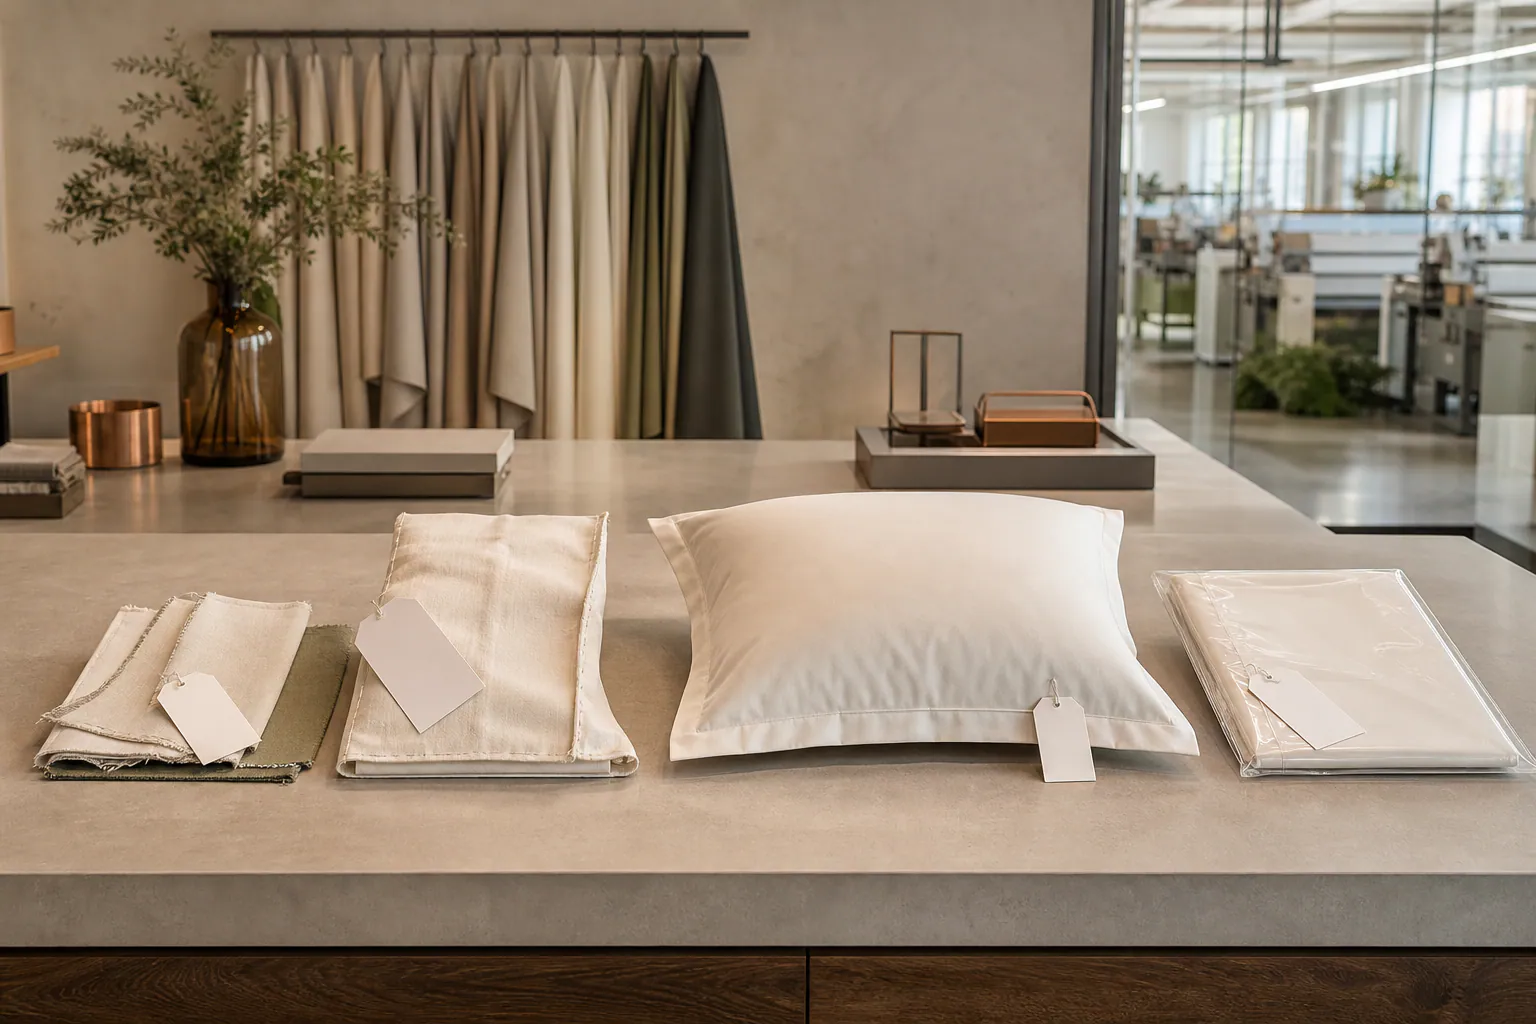
The SKU quantity planning guide provides a useful framework for the commercial discussion. Require the pre-production set to include the correct size-to-art mapping before confirming the delivery plan. Keep marketing crops consistent with the supplied size, and identify generated editorial images as illustrations rather than evidence that a particular stocked product exists.
- Use size-specific artwork references on purchase lines.
- Confirm the feasible schedule after artwork and sample approval.
Share the proposed body-pillow sizes and full skeleton design with FY Bedding. Ask for a size-by-size placement proposal, closure scope and sampling plan. Review the filled covers together before deciding which lengths belong in the Halloween range.