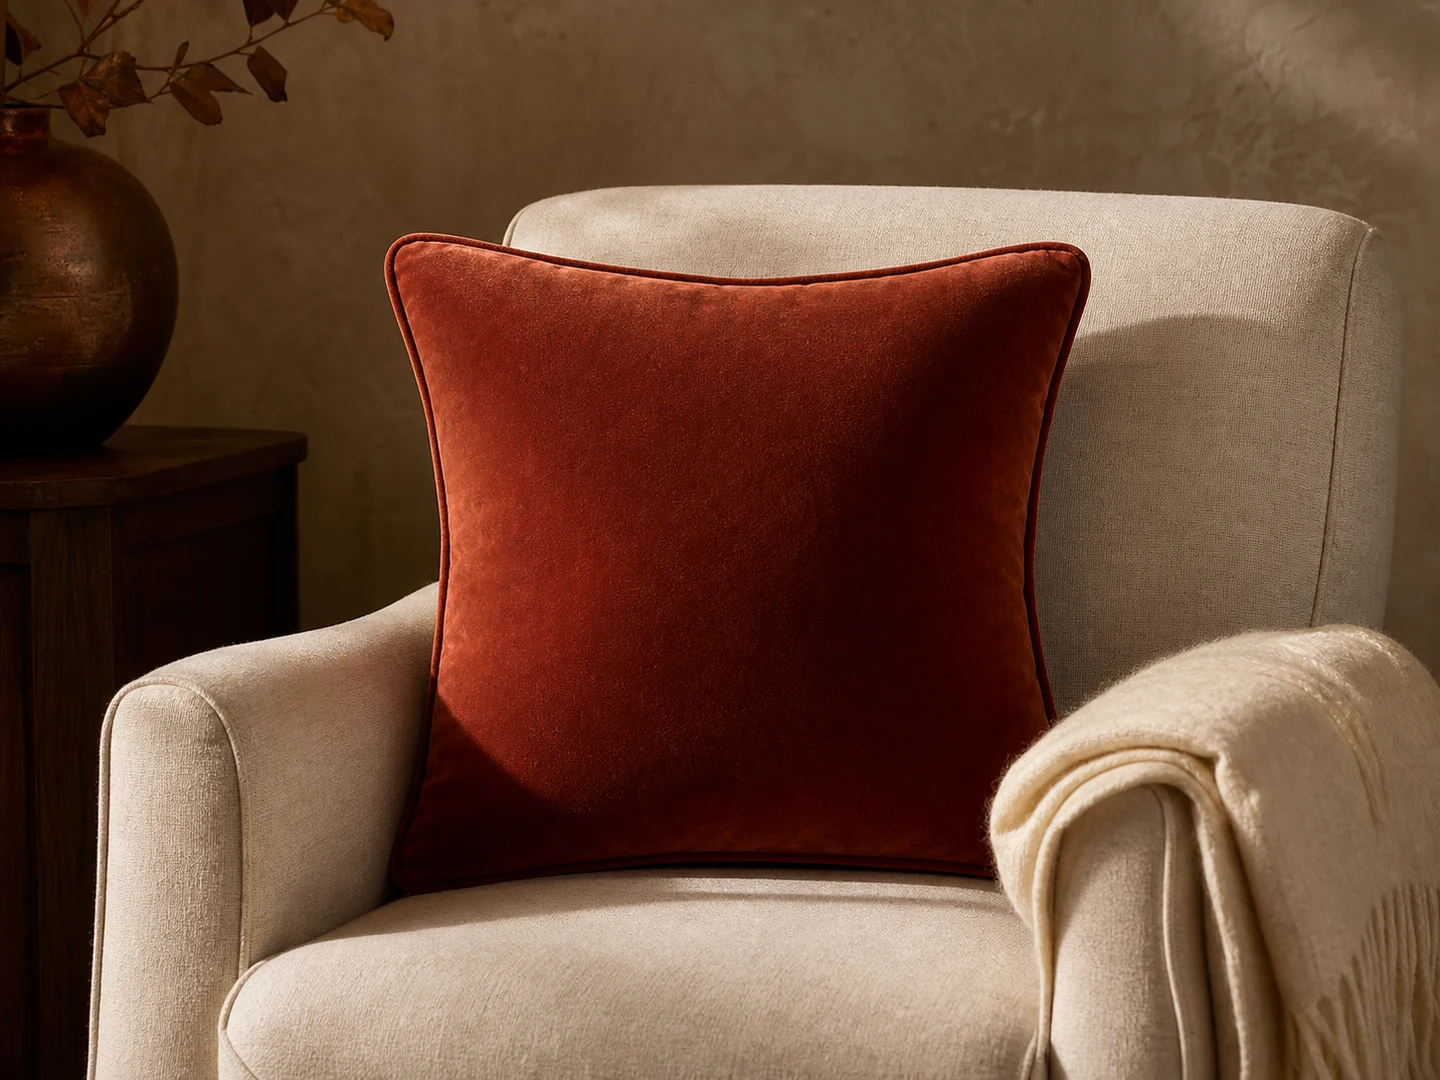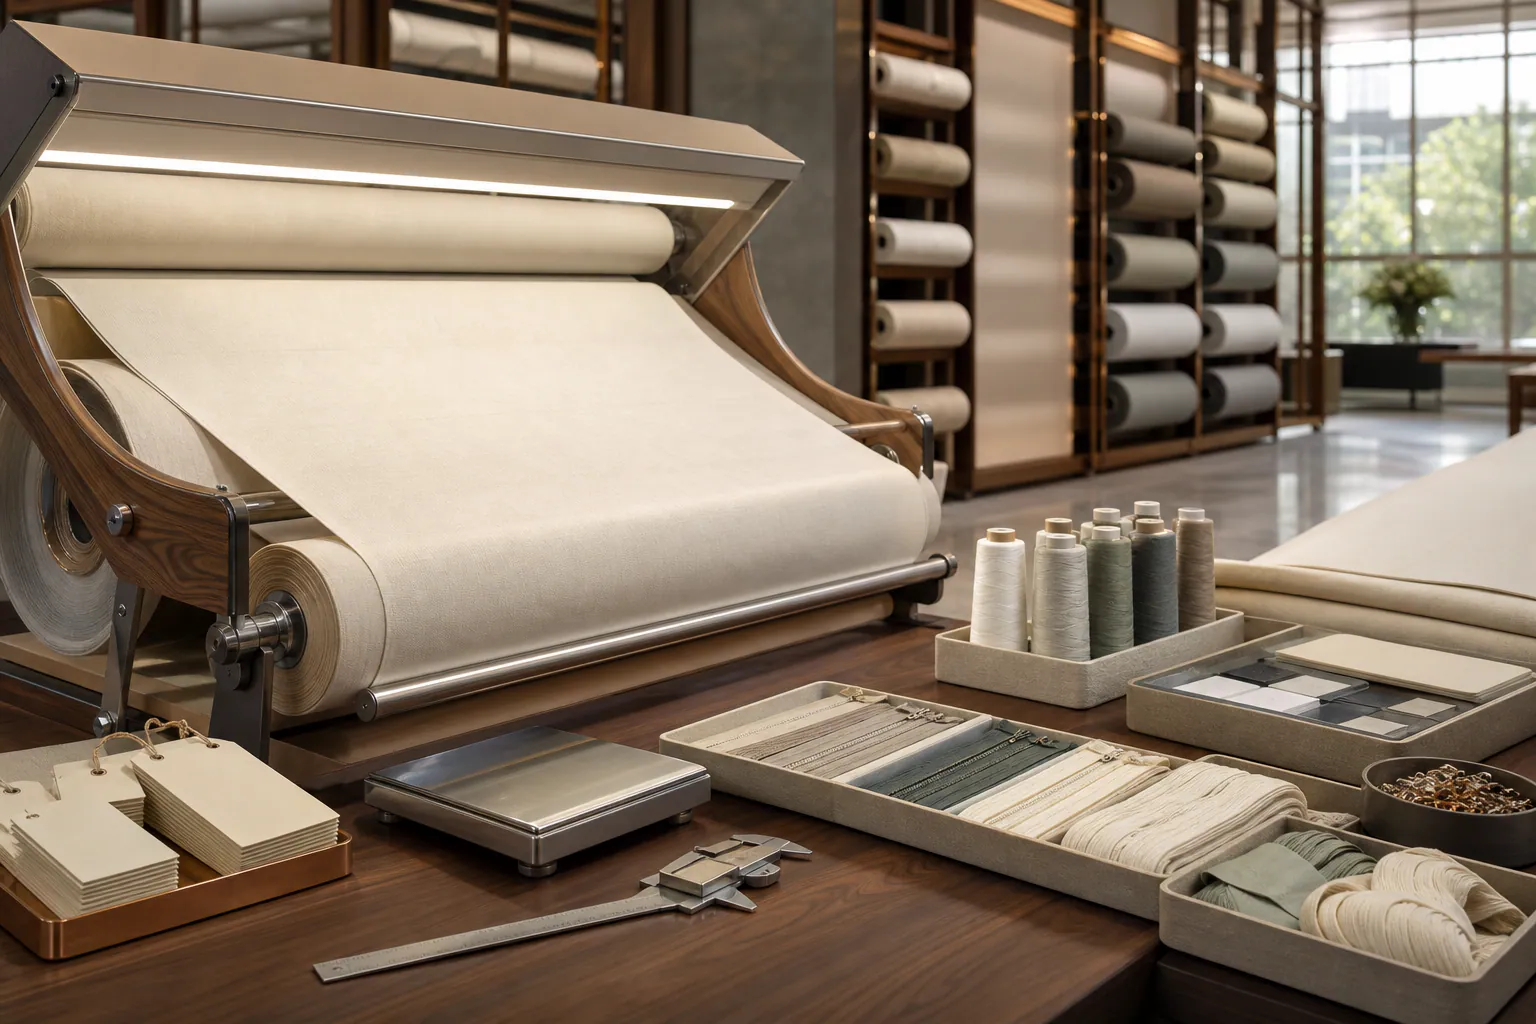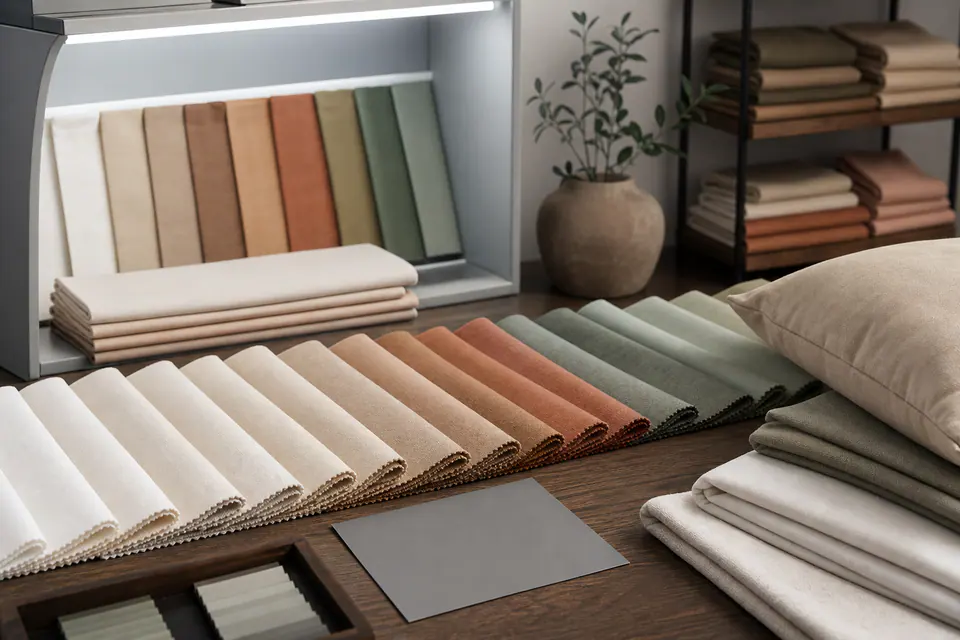
Color approval is not a single visual yes or no. Fabric structure, fiber content, finish, viewing light and dye lot can all change how a shade appears. A practical control plan connects an approved physical reference with agreed viewing conditions, an acceptable shade range, traceable lots and a disposition rule for variation.
1. Define the controlling color reference
State whether the starting point is a physical swatch, color standard, approved lab dip or approved sample. Digital screens and emailed images are useful for discussion but should not be the sole bulk standard because device settings and ambient light vary.
Record the reference code, fabric construction, finish, approval date and approver. A lab dip approved on one substrate may not predict the same visual result on a different weave or fiber blend. Link the approved color to the relevant fabric construction and product revision.
2. Agree how color will be assessed
Define the light source or viewing conditions used by both parties and check for metamerism where appropriate. Evaluate the face of the finished fabric in a repeatable orientation, because pile, brushing and directional texture can change apparent shade.
Instrument readings can support control, but a ΔE value is meaningful only when the color space, illuminant, observer, instrument setup and acceptance method are specified. There is no universal number that fits every material, shade and buyer expectation.
3. Connect approval to each production stage
| Stage | Control | Record |
|---|---|---|
| Development | Compare lab dips with the nominated standard | Reference, submission number and decision |
| Pre-production | Approve the actual construction and finish | Sealed sample or cutting |
| Bulk dyeing | Review dye lots before cutting or mixing | Lot identity and shade grouping |
| Cut and sew | Keep components from incompatible lots apart | Bundle and work-order traceability |
| Final inspection | Check within-piece and piece-to-piece variation | Finding, quantity and disposition |
The reference should also be listed in the golden-sample approval record, so production and inspection use the same source.
4. Build and use a shade band
A shade band is a set of physical examples showing the approved center and, where agreed, the acceptable directional limits. It helps teams discuss variation more clearly than labels such as “slightly warmer.” The band should be built from the relevant bulk material, identified by lot and approved before mixed lots enter sewing or packing.
Do not use a shade band to hide uncontrolled variation. If visual difference is obvious within one finished item, across coordinated components or between units packed as a set, the construction and customer use may require tighter segregation.
5. Predefine inspection and disposition
Write down where comparisons occur, how many lots or units are reviewed and who can accept, segregate, rework or reject variation. Photographs should record findings but should not replace physical review when color is the decision.
Include lot identity in the final inspection checklist. If a deviation is accepted for a specific shipment, record that decision without silently changing the master standard for future orders.
Approve color on the intended fabric and finish, under agreed conditions. Keep lots identifiable and define the acceptable shade range before cutting, sewing or packing makes separation difficult.