Blackout performance is not delivered by fabric alone. Daylight can enter at the wall return, center meeting line, head track, sill or floor even when a laboratory report describes the face material as opaque. Window dimensions, track geometry, fullness, lining build, hardware projection and installation tolerance combine at room level, so a swatch or flat-panel check cannot predict the guest experience. A controlled mock-up should connect the surveyed opening, released curtain construction, hardware and installation position with repeatable photographs and an agreed disposition for every visible gap. This guide is a procurement-control framework, not a substitute for the buyer's specification, a test standard or a contract. It intentionally avoids invented factory capabilities, certificates, universal tolerances and automatic legal conclusions. The useful outcome is a repeatable approval and evidence route that lets design, production, quality, logistics and receiving teams compare the same item under stated conditions.
1. Survey the actual opening
The room, track and obstacles define the brief
Treat this point as a controlled handoff, not a final visual glance. Record wall-to-wall opening, ceiling or track position, sill, floor level, return depth, center split, handles, HVAC outlets and furniture clearance. The practical risk is specific: Nominal architectural dimensions can hide out-of-square surfaces or site conditions that prevent the specified curtain from reaching its planned position. Use the sample request route to connect development and bulk controls, and capture the product size, color, lot, production stage and applicable revision. When the condition varies by size or configuration, show the range explicitly instead of approving one convenient specimen for every variant.
Evidence must be sufficient for another reviewer to reproduce the conclusion. A room-coded survey, dimension sketch and photographs should identify which measurements are verified and which remain design assumptions. Link the result to the lot-traceability guide and preserve original measurements as well as any summary. A failed or uncertain result should remain on hold until an authorized disposition identifies affected quantity and the required reinspection. This disciplined route is more useful than adding an unsupported numerical limit after production has already begun.
- Code each surveyed room or room type.
- Measure returns and center position.
- Record hardware and obstruction clearances.
- Flag assumptions before sample cutting.
2. Release panel and hardware geometry
Fullness and projection affect every light path
A buyer-ready specification names the reference, method and decision owner. Specify finished panel width and length, fullness basis, heading, lining, side return, center overlap, hem, track, carriers and any overlap arm. Without that discipline, Changing carrier spacing or fabric build after panel approval can alter stack-back, center meeting and operating force. The buying brief can provide the surrounding approval gate, while the article-specific record captures the feature itself. Include production-representative conditions and note any substitute equipment, material or mock-up component that could affect interpretation.
Close the check with traceable evidence rather than a pass stamp. A coordinated curtain-and-hardware schedule with revision control is stronger than separate supplier drawings that never share the same datum. Review it together with the packaging and carton approval guide, record deviations by location and quantity, and show what was reinspected after correction. If buyer and supplier have not agreed a numerical tolerance or test route, report measured findings and request disposition; do not invent a threshold that could be mistaken for a standard or contractual promise.
- Tie panel dimensions to the surveyed opening.
- Name track and carrier references.
- Define side return and center overlap.
- Control revisions across curtain and hardware.
3. Install a production-representative mock-up
A hung trial exposes interactions that tables cannot
Build the control around the real end-use sequence. Install the intended track and full-size panels in a representative room, then set hooks, carriers, hems and returns using the planned site method. This matters because Pins, temporary tape or hand-adjusted folds can make a development sample look better than repeatable production and installation will deliver. Refer to the golden-sample approval workflow for the wider sourcing workflow, then identify sample, method, conditions and reviewer in the feature record. Separate development exploration from the final released rule so production teams know which observations are informative and which are mandatory.
The evidence pack should make the outcome understandable without relying on memory. The mock-up record should identify panel, fabric lot, lining, hardware, room, installer and any non-production adjustment. Cross-reference the incoming-fabric inspection guide, retain before-and-after views when a trial changes the product, and document the affected lot when a finding appears in bulk. Correction is not closure until the changed quantity is verified again under the same rule and the authorized disposition is recorded.
- Use released hardware and panel build.
- Record hook and carrier settings.
- Avoid undocumented temporary corrections.
- Photograph the installation conditions.
4. Observe light gaps under controlled conditions
Location and viewing condition make findings comparable
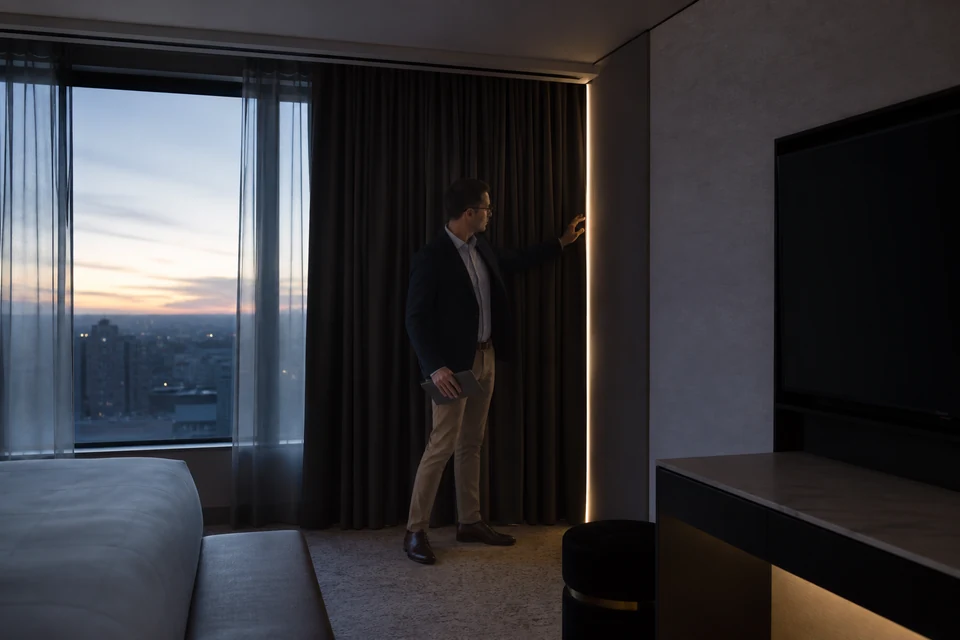
Close the curtains from the normal operating position and inspect head, returns, center, sill and floor from agreed room points under documented exterior and interior light conditions. Begin with the released buying specification and the actual sample identity; do not let a convenient workshop convention become an unstated requirement. Automatic camera exposure can exaggerate or hide a gap, and a single close-up may not show whether the issue is local or room-wide. Buyers can place this control beside the pre-production sample guide so material, construction and inspection decisions refer to the same revision. Record who checked the point, when it was checked and what product or lot was represented.
Pair overall room views with location-coded details and note time, lighting and operating sequence; classify findings against the buyer-approved visual rule. The record should distinguish an observation from an acceptance decision and identify any approved deviation. Compare results with the final-inspection checklist, then state the hold, correction, recheck or release route. This prevents photographs and measurements from becoming detached files that cannot explain a production or sourcing decision later. Keep commercial disposition with authorized buyer and supplier representatives rather than embedding an automatic claim in the inspection method.
- Use fixed viewing positions.
- Map every gap by location.
- Capture overall and detail views.
- Document ambient light conditions.
5. Close production and installation controls
The approved room must become a repeatable instruction
Treat this point as a controlled handoff, not a final visual glance. Translate the mock-up into final panel measurements, hardware setting, installation tolerances, site checks and correction authority for each room type. The practical risk is specific: If installers stretch, re-pin or swap panels without records, later rooms cannot be compared with the approved result. Use the AQL sampling guide to connect development and bulk controls, and capture the product size, color, lot, production stage and applicable revision. When the condition varies by size or configuration, show the range explicitly instead of approving one convenient specimen for every variant.
Evidence must be sufficient for another reviewer to reproduce the conclusion. Retain the room-trial file, released schedule, site acceptance log and issue resolution so replacement curtains follow the same geometry. Link the result to the FY Bedding quality route and preserve original measurements as well as any summary. A failed or uncertain result should remain on hold until an authorized disposition identifies affected quantity and the required reinspection. This disciplined route is more useful than adding an unsupported numerical limit after production has already begun.
- Issue room-type installation sheets.
- Define who may adjust settings.
- Record site acceptance by room.
- Preserve replacement specifications.
Approve blackout performance at room level: surveyed opening, coordinated panel and hardware geometry, representative installation, controlled light observation and repeatable site instructions.