A corduroy cushion can look convincing on its own while a pair reveals a direction or proportion the buyer never intended. The ribs create a visible design system across the cover, making orientation an early product decision rather than a detail to settle at packing. For retail and interior projects, approve the cloth, the panel map and the paired presentation together, then make those references usable by the people cutting, sewing and checking the order.
Choose the rib scale on the intended cushion size
A corduroy name does not define the whole surface
CottonWorks explains corduroy as a pile fabric with cords or wales formed by filling yarn. For a buyer, the practical starting point is the scale and appearance of those ribs in the finished product. Ask for the identified fabric reference and a clear description of its rib arrangement, composition and finish. Avoid approving a broad term such as fine cord without a physical reference showing what the supplier means.
Place alternatives on representative cover sizes before deciding. A rib that suits a large cushion may create a different visual rhythm on a smaller companion. Assess the range as it will be displayed, not by ranking swatches in isolation. Record whether one cloth should serve every size or whether the design intentionally uses different qualities. Each additional cloth needs its own approval and commercial confirmation.
Ask the source to explain any cutting-layout implications of the selected direction before the quantity is fixed. Do not rotate panels merely to improve yield without the buyer's approval. If an alternative direction is commercially useful, review it as a separately identified option rather than letting a production shortcut redefine the collection.
Draw the rib direction for every visible panel
Show the cover upright, including the reverse
Prepare a simple front-and-back drawing with an unmistakable top reference and arrows showing the intended ribs. Mark the closure location and any contrasting side panels, piping or trim. If the front and reverse intentionally use different directions, show that difference explicitly. A cutting team should not have to infer the design from a photograph in which the cushion has been rotated or its closure is hidden.
Connect the drawing to the fabric face-and-back identification record. Where a fabric also has a direction-sensitive pile presentation, record the accepted orientation rather than assuming that a rib arrow fully describes it. Review the assembled cushion from both sides. An attractive front does not settle how the reverse should look when a customer turns the product over.
- Mark top, face, reverse and closure on the same revision.
- Keep rib direction distinct from any additional pile-orientation instruction.
Approve two covers together under consistent light
Distinguish shade differences from orientation effects
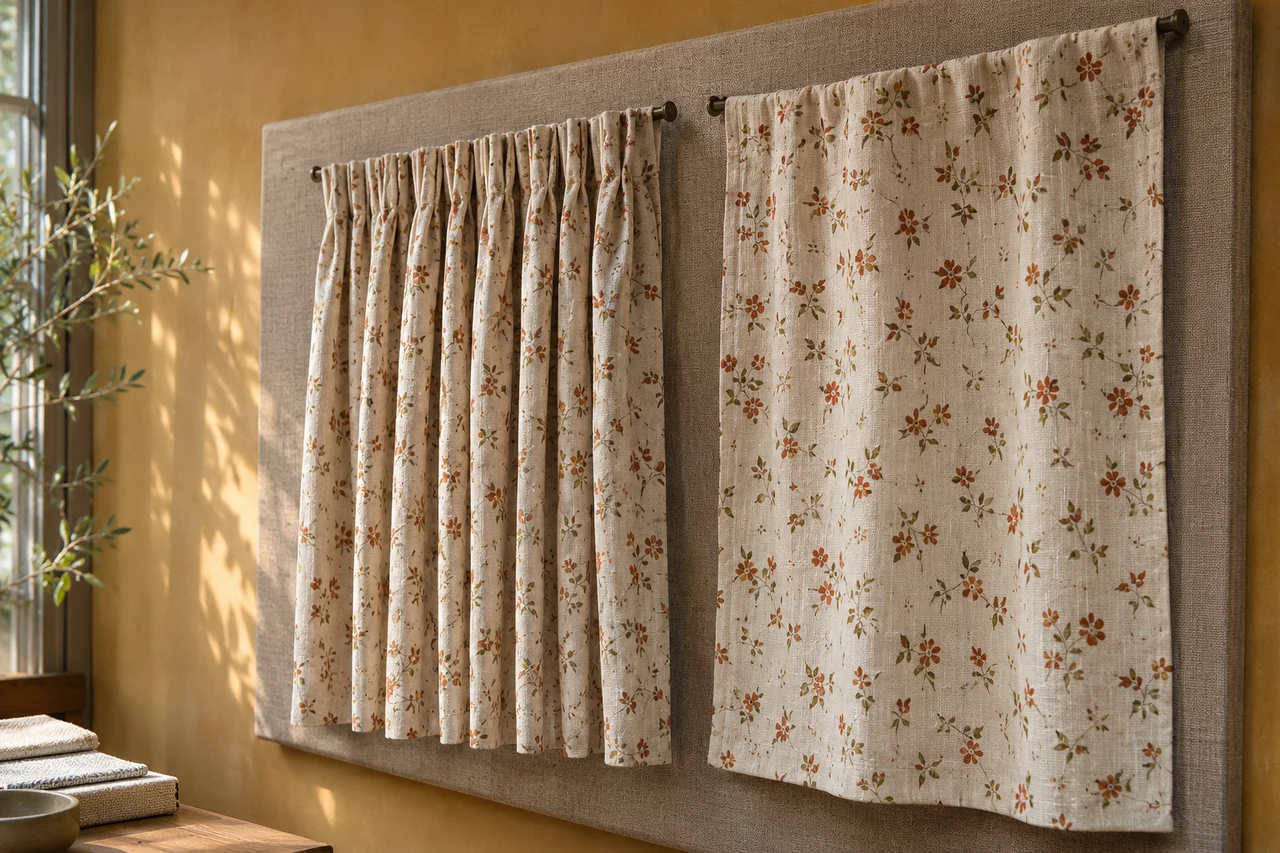
Arrange the pair in its intended display and observe it from the front and normal side angles. If the covers appear different, first confirm fabric identity, preparation and orientation. Temporarily rotate one sample to understand the observation, but return it to the specified position for the acceptance decision. The purpose is to learn why the pair differs, not to keep turning cushions until the mismatch is hidden.
Use the multi-light colour process when the project requires shade evaluation across illuminants. Keep that review separate from the effect of looking along or across a textured surface. Record pair photographs with the same orientation labels used in the panel drawing. The retail photography guide helps keep product content tied to the accepted physical pair rather than a selectively lit image.
Decide what matching means at the seams
Do not leave an expensive interpretation unstated
Look at how the ribs meet the perimeter, closure and any panel joins on a filled sample. Specify whether the design requires a particular alignment at named seams or simply consistent direction and an acceptable edge. Those are different demands. Asking for perfect matching everywhere without an illustrated scope can produce inconsistent quotations and an approval discussion that starts only after the covers have been sewn.
Use the panel-matching framework to document the design locations that matter, while retaining corduroy's rib reference as the actual acceptance basis. Review the chosen seam with the intended insert so tension or a sharp corner does not obscure the issue. The insert-and-cover guide owns the fit decision; changing the insert is not a quiet way to repair a direction error.
- Name the seams that require alignment.
- Show acceptable edge presentation on a complete, identified sample.
Preserve the approved pairing through care and packing
Make the final check easy to repeat
Repeat the pair review after the agreed care route and after representative packing and unpacking. Record any preparation used before assessment. Check that the covers still communicate the intended coordinated appearance and that a packing fold is not being confused with a permanent difference. Do not promise a wear life or resistance level from these visual observations; separate evidence is needed for any formal durability requirement.
For a paired retail SKU, give the packing team a clear pair reference, orientation instruction and component list. For individually sold covers, state how consistency with later purchases will be managed without promising identical appearance across every future lot. Include the pair requirements in the packaging approval. Send FY Bedding the rib reference, panel drawing and quantity plan through a sample enquiry, so material availability, cutting implications and minimums can be assessed for the specific program.
A purchase-ready corduroy cover has an identified rib reference, a front-and-back direction map, a clear seam-matching scope and an approved paired sample. Packing and final inspection should use those same references.
Method references: CottonWorks: corduroy pile construction and wales.