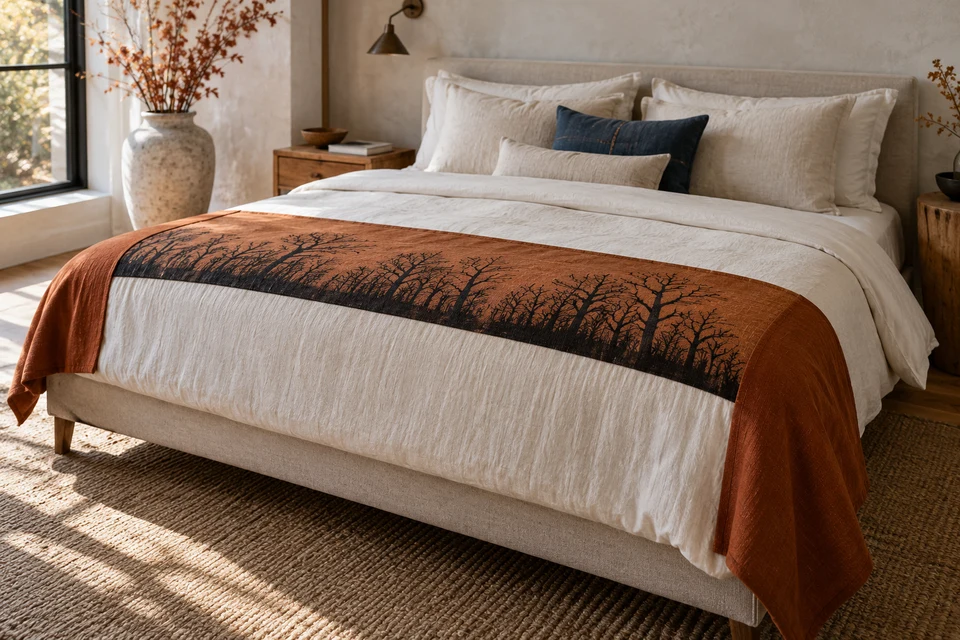
An engineered Halloween bed runner places a deliberate scene across the foot of a made bed. The artwork should be reviewed from the guest's viewing direction, where the central mattress span and the two hanging ends have different roles. A flat full-width print proof can hide those differences. The buyer must connect the artwork to the actual bed setup, runner construction and care requirements rather than treating every size as a simple enlargement of one image.
Define the made-bed reference
The visible span includes the agreed bedding arrangement
Identify the bed and bedding combination used for development, including the runner's intended position at the foot. Record the finished runner dimensions and the agreed way of measuring the visible top span and hanging ends. Put the setup in the technical pack. A mattress dimension alone does not describe how the runner drapes over the chosen bedding or how far it hangs at each side.
Photograph the reference from the actual foot-of-bed viewing position and from above. Keep the runner in a natural draped condition rather than stretching it to make the image align. If the property or retailer uses several bed sizes, list those setups separately. The buyer should decide whether they need dedicated artwork sizes, a common central scene with varied ends or another clearly specified approach.
- Record the actual made-bed setup and runner position.
- Review top span and hanging ends as separate design regions.
Place the panoramic scene in the visible central region
Important motifs should not disappear around the edge unintentionally
Mark the principal tree scene or other approved artwork relative to the intended top span. Show where side drape begins and whether the hanging ends are plain, patterned or part of the scene. Keep motif placement tied to the artwork version record, including the direction viewed from the foot of the bed. A balanced flat file is not enough to establish a balanced installed view.
Review the sample with the bedding normally arranged and note any motif that bends over the side or disappears beneath another item. Decide whether that effect is deliberate. Avoid solving a placement issue by moving the runner to an impractical position that the housekeeping or styling team will not reproduce. Record the accepted installed location alongside the print file so the image and operational setup remain connected.
- Mark where the central scene ends and side drape begins.
- Approve artwork in the realistic installed position.
Control size variants without blind scaling
A wider bed can need a different allocation of the same scene
For every offered size, show the intended central region, edge transition and end length. Decide which artwork features remain the same size and which may be repositioned or extended. A uniform scale change can alter the visual weight of the scene or the clarity of smaller details. Request proofs that identify the actual variant rather than accepting one generic preview for a multi-size assortment.
Ask the supplier which variants require separate print preparation, cutting layouts or samples. Keep those differences visible in the quotation and release record. The assortment verification method can help reconcile print-size combinations in the finished order. A correctly counted carton can still be wrong if the runner dimensions and artwork version have been paired incorrectly.
- Define artwork allocation for each finished runner size.
- Verify the dimension-and-print pairing in the assortment.
Connect print approval to the finished construction
Edges, lining and care can alter the installed image
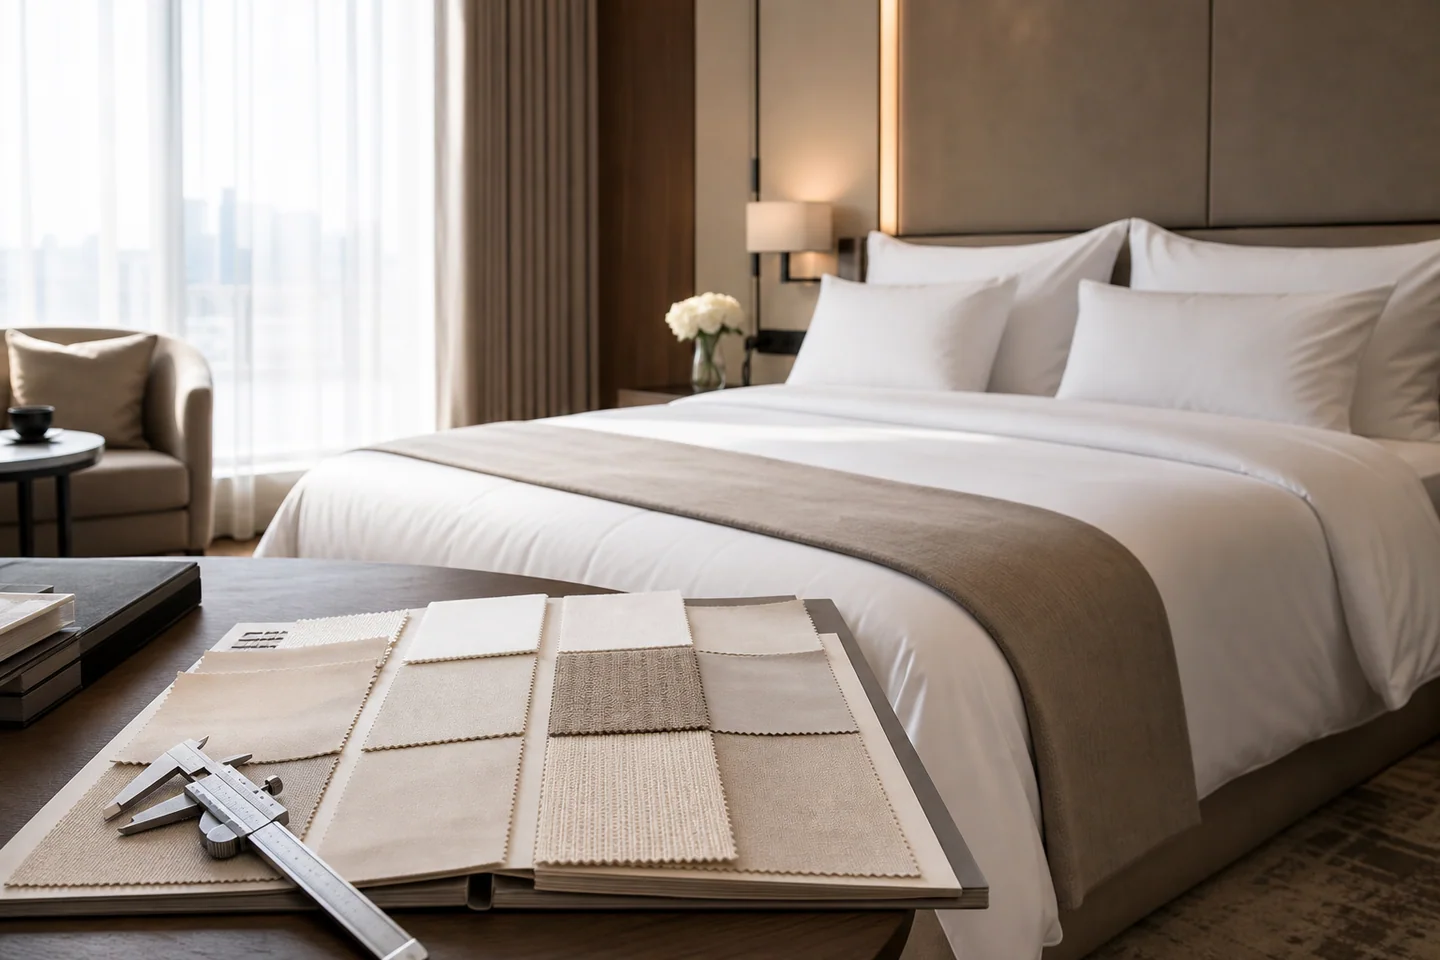
Identify the face fabric, any reverse layer and the proposed edge finish. Review the printed sample after those construction steps because seams and turning can consume visible artwork or change the way the ends hang. Use the seam specification method to document the offered finish. Do not infer a particular fiber, print process or performance from the appearance of the design reference.
Put the intended care route and any requested dimensional or color evaluation into a product evidence plan. Where the runner is proposed for hospitality, identify the actual care process under consideration rather than assuming domestic care instructions cover it. Recheck the installed artwork after the agreed sample evaluation. A visually appealing first sample does not establish commercial-laundry suitability or colorfastness.
- Approve artwork after final edge and reverse construction.
- Review the intended care evidence for the actual use setting.
Release a usable styling unit
The received runner should match the operational setup
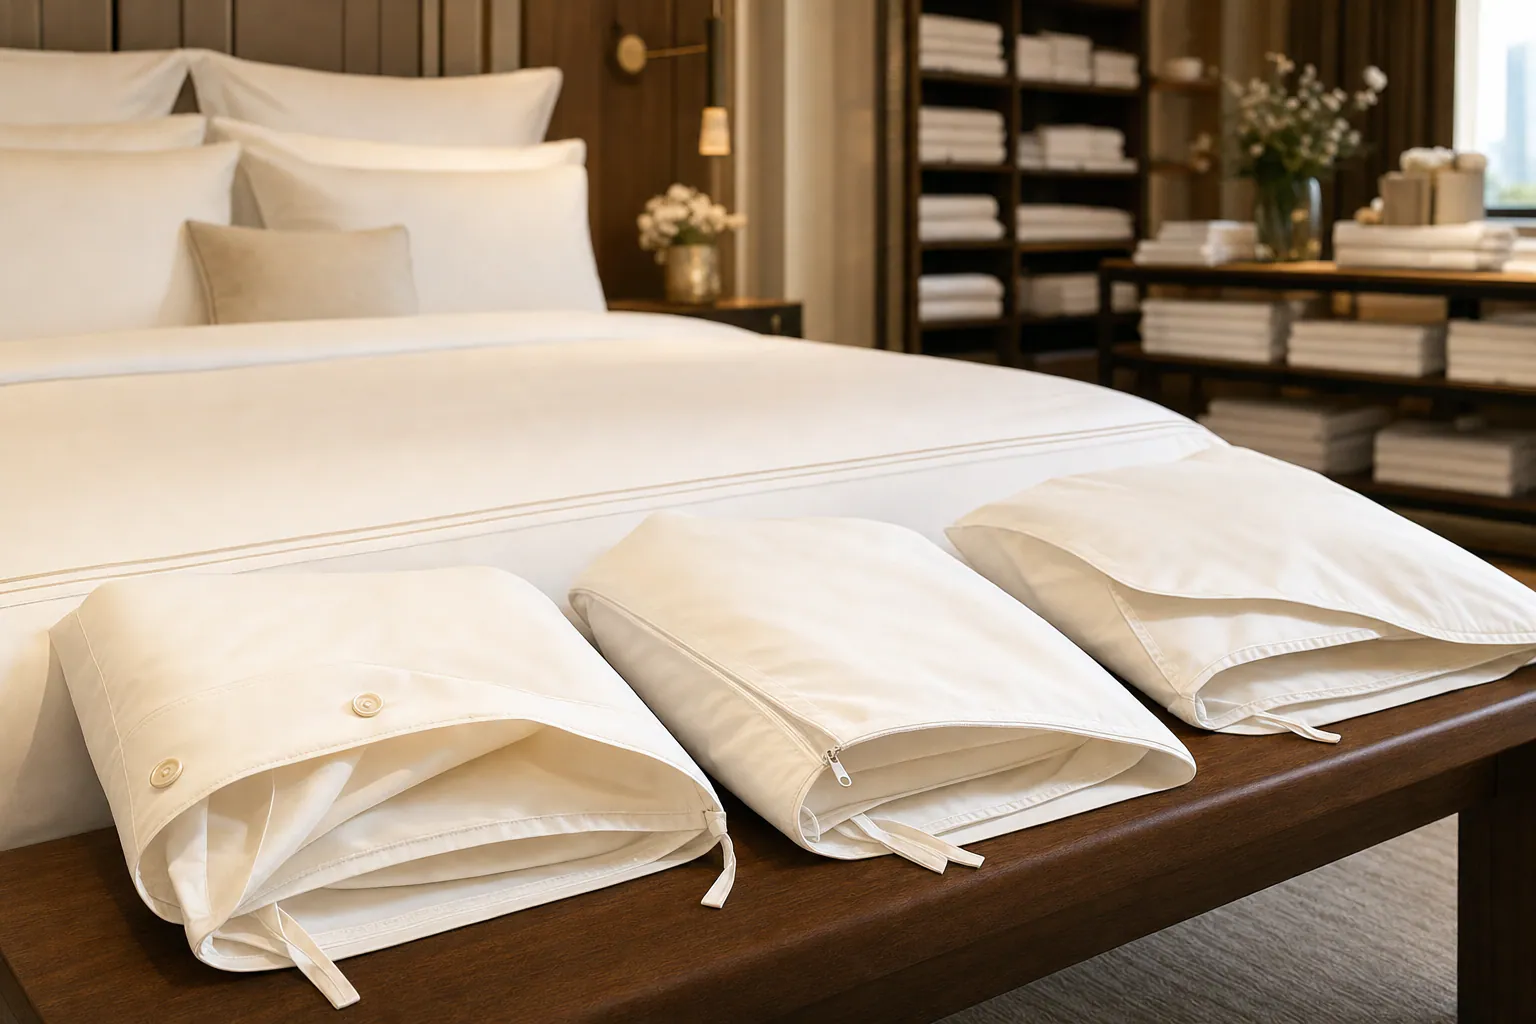
Agree how the runner is folded or rolled and inspect the sample after unpacking. Check whether the intended central scene remains easy to locate and whether the proposed preparation is reasonable for the styling team. Keep any bed or cushion shown in the product image separate from the supplied runner unless included explicitly. Retain the final installed photograph as a reference for the buyer's merchandising or housekeeping team.
Compare quotations using the same face and reverse materials, artwork variants, finished sizes and packaging. Ask for the actual MOQ, sampling stages and production milestones, including any approvals needed before printing. Plan the seasonal introduction around that confirmed sequence. Do not promise arrival before Halloween or immediate stock simply because the artwork and a photographic reference have been prepared.
- Review the unpacked runner in the agreed made-bed setup.
- Align print variants, construction and pack before confirming the order.
Share the bed sizes, made-bed reference and intended Halloween scene with FY Bedding. Request an engineered artwork map and a finished runner sample photographed from the foot of the bed before releasing the size range.