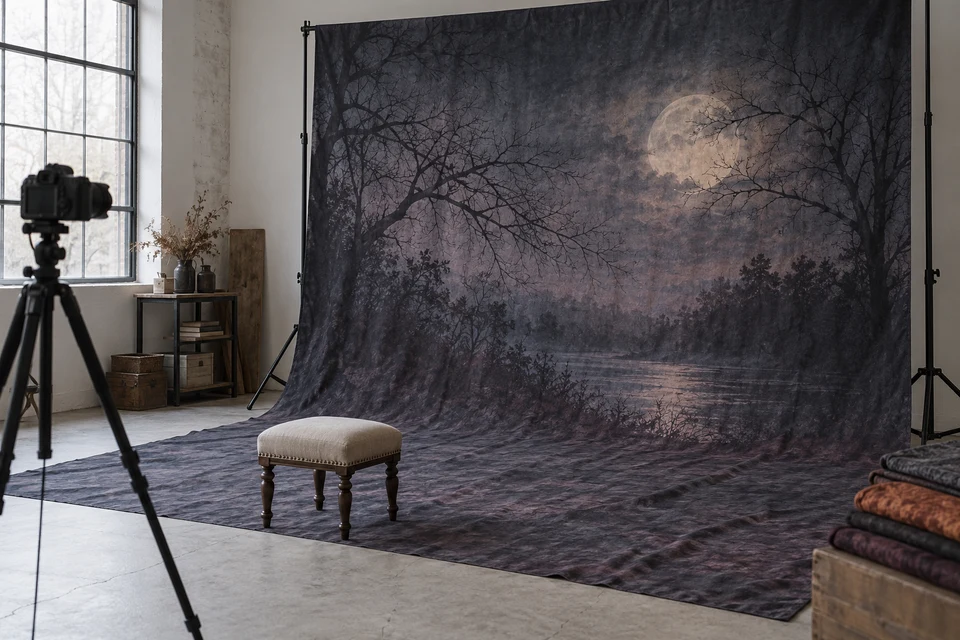
A cloth backdrop is purchased for the scene visible through a camera, not simply for the size printed on a carton. A Halloween moon can sit behind a subject as intended yet disappear when a portrait is cropped, while an unnoticed seam can cross the main face area. Start a backdrop order with the actual shooting space and planned frames. Keep decorative artwork approval separate from support hardware and installation responsibility.
Map the camera view before the fabric rectangle
Define the usable scene
Draw the planned portrait and group frames over the artwork. Identify where the subject stands, how much floor enters the frame and which motifs must remain visible at the edges. Use representative camera positions from the intended studio; a single tight promotional crop does not define usable coverage. Put these scene requirements in the development specification alongside the overall cloth dimensions.
Specify whether the product is a hanging panel only or includes a continuous floor sweep. Name the transition region so a supplier does not place a critical moon, face or horizon where the cloth bends. A mock-up using inexpensive plain cloth can establish the required space before the buyer pays for a large decorated sample.
- Draw both portrait and wider group crops on the artwork.
- Separate total cloth size from the scene that must remain usable.
Agree where seams may appear
Do not leave joins to production convenience
Ask for the proposed panel layout and fabric-width constraints. Mark areas where a join would be unacceptable in the intended composition, especially behind faces or through a continuous graphic feature. Decide whether an edge join outside the main frame is acceptable and what view will be used to assess it. Request a sample of the actual seam construction if a full-width seamless option is not proposed.
The print strike-off review can establish local artwork and color, but it does not establish the relationship between joined panels. Approve a scaled layout and representative joined section as separate items. If the layout changes to satisfy a fabric minimum, review the camera crop again rather than treating the substitution as purely a costing matter.
- Mark seam-exclusion zones in the signed layout.
- Keep a joined sample when the final backdrop contains joins.
Specify the attachment interface
A cloth quotation is not a complete rig
Record the support dimensions, attachment method and installation orientation supplied by the venue or studio. Distinguish a sewn sleeve, reinforced edge or other proposed interface without assuming one method fits every support. Confirm whether stands, clamps and other hardware are excluded from the textile quotation. A product photograph should not imply that unsupported accessories are included.
Use the finished sample approval framework to document the actual installed textile dimensions. Have the responsible installer assess the complete setup and any location-specific requirements; this article does not certify a support system or give a load rating. Record how the cloth is tensioned and how the floor portion is arranged without obstructing the working area.
- Identify textile-only supply and separately supplied supports.
- Review the installation with the people responsible for the location.
Review the surface through the intended camera
A swatch and a full scene answer different questions
Photograph a representative decorated section under the lights that will actually be used. Include dark and light areas, fine branches and broad plain regions. Then review a full sample at the planned framing distance. Ask whether visible texture, folds or surface reflection interfere with the intended scene; do not declare a cloth universally reflection-free from one favorable photograph.
Borrow the documentation discipline of photography approval while keeping the purpose clear: here the textile is the background itself. Save the capture conditions and any preparation used before shooting. If the buyer expects the backdrop to work in more than one room or lighting arrangement, define those additional reviews before accepting the first setup.
- Retain unretouched reference captures with the physical sample.
- State any preparation needed to reach the approved appearance.
Plan folding and repeat setup
The receiving team needs a usable installation record
Choose a packing format with the supplier and trial the ordinary unpacking sequence. Mark the top and reverse through a suitable product label or accompanying setup record, not an unexplained mark within the visible artwork. Check that the buyer can identify the intended hanging direction and floor sweep after the textile has been packed. Confirm proposed care and storage instructions against the actual construction.
Request a quotation that separates artwork, full-size sampling, finishing and any special packing, using the quotation scope checklist. Schedule approval before making promises about a seasonal installation date. Where the studio needs several matching backdrops, identify which locations share one layout and which require a different crop or attachment interface.
- Trial the received pack in the intended studio before bulk release.
- Keep a versioned setup drawing with each approved layout.
Share your shooting-space sketch, main camera frames and support interface with FY Bedding. Ask for a textile scope and sample plan that preserve the visible scene; confirm installation and delivery responsibilities separately.