A molded or cut foam pillow core can meet an overall length and width while still producing a different finished pillow. Crown height, contour position, edge radius, ventilation holes, skin condition, cut marks and local voids affect how the shell fits and how the product presents. Loose particles from trimming or handling may also remain inside the cover if cleaning and containment are not controlled. Buyers should therefore approve the core as a three-dimensional component linked to its foam identity, conditioning state, physical reference and finished-cover trial. Density, firmness and recovery are separate decisions; they should not be inferred from appearance or replaced by a dimensional inspection. The inspection route needs stable landmarks, tools that do not compress the foam unnecessarily, surface-defect language and a defined method for evaluating loose dust or particles. Because foam dimensions can change after demolding, cutting, temperature exposure or compression packing, the time and condition of measurement matter. This guide does not set universal defect sizes or performance limits. It shows how a buyer can create comparable evidence for the named design, supplied material, cover construction and packaging route without making unsupported health, durability or comfort claims.
1. Freeze core identity and conditioning state
The drawing and physical sample must describe the same component
Record foam type and supplier reference, core process, color where relevant, mold or cutting revision, batch identity and production date. Link the core to the pillow bill of materials and approved sample. Use the BOM control guide so substitutions in foam, additives, bonding or production site require an authorized review rather than arriving as a visually similar core.
Define when measurement occurs after demolding, cutting or unpacking, together with temperature and conditioning requirements appropriate to the project. A core measured immediately after compression may not be comparable with the retained sample. Record packaging history when it can affect shape. Keep this step separate from the density, firmness and recovery specification, which answers material-performance questions through its own methods.
- Identify foam, process, batch and core revision.
- Link the inspected core to the controlled BOM and sample.
- Define measurement timing and conditioning after production or pack.
- Do not substitute visual inspection for material performance tests.
2. Map the three-dimensional profile
Overall size alone misses crown, valley and contour position
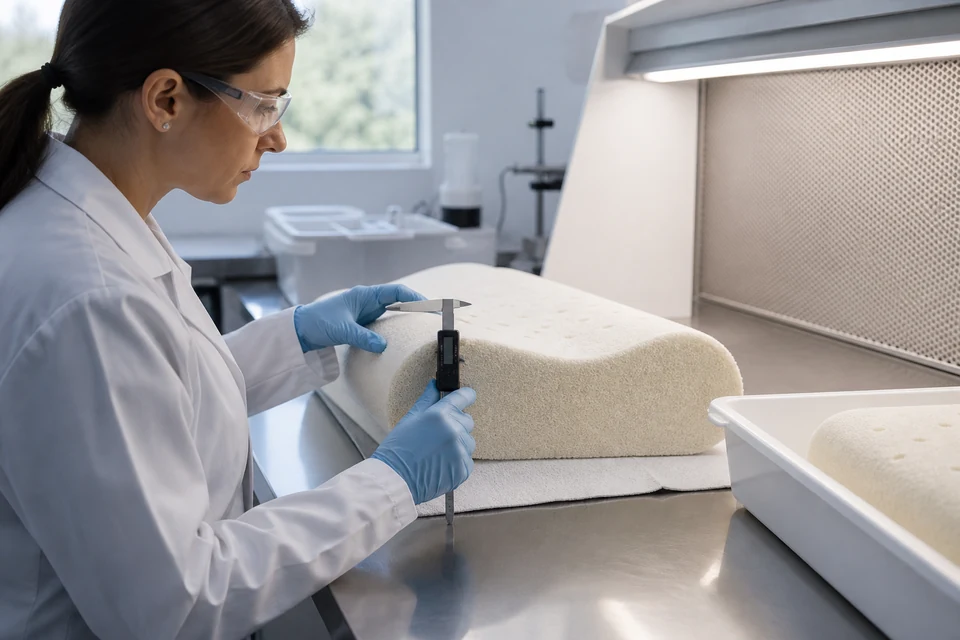
Create a dimensioned drawing with fixed orientation and named landmarks. Depending on design, include length, width, edge thickness, maximum and minimum height, contour centers, neck roll, side slope, radius, ventilation-hole diameter and spacing, cutouts and any left-right asymmetry. Use a flat reference surface and tools that contact the foam consistently without crushing it. Photograph tool position for unusual landmarks so different inspectors can repeat the route.
Measure representative points rather than searching for the value that best matches the drawing. Record actual results and local deformation separately. For complex curves, templates, gauges or controlled scanning may help, but their method and revision must be defined. Use the sample-conditioning guide to keep tool pressure, support and time visible. Where the cover compresses the core, approve both free-core dimensions and the finished assembly rather than altering one figure to compensate silently for the other.
- Fix orientation and name every measurement landmark.
- Include profile heights and positions, not only length and width.
- Control support surface and measurement contact pressure.
- Report free-core and finished-assembly checks separately.
3. Classify surface, skin and cut findings
Describe the condition and location before deciding disposition
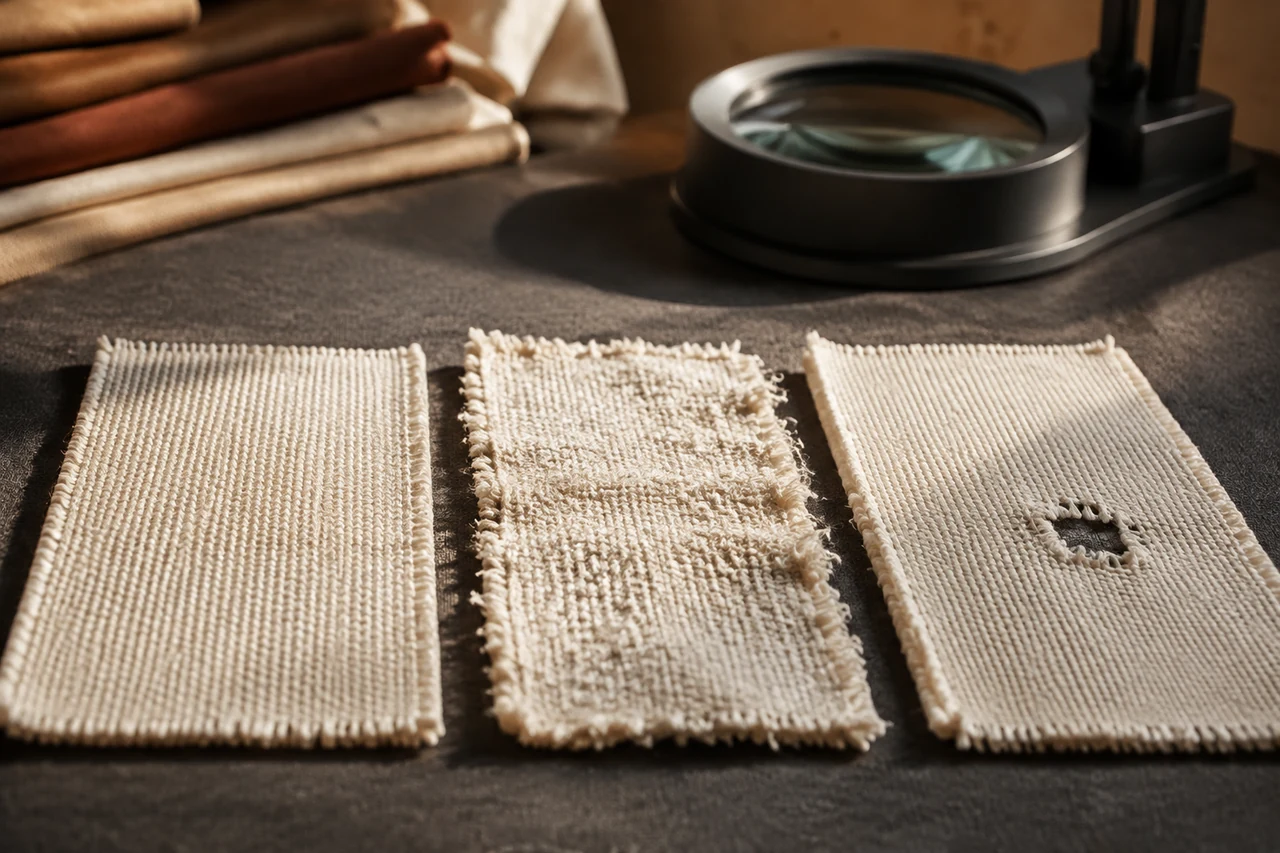
Inspect under controlled diffuse and grazing light. Map voids, tears, folds, scorched or discolored areas, flash, seams from molding, cut ridges, drag lines, rough edges, blocked holes, repaired zones and foreign material. Distinguish normal process texture from a defect defined by the approved sample and specification. State whether a finding is hidden by the cover, affects cover fit, creates a tactile hard point or lies on a load-bearing contour; location may matter more than a simple count.
Use consistent size bands or project-specific grades only when they are defined before inspection. Avoid claiming a cosmetic mark changes durability or safety unless appropriate evidence supports that conclusion. Preserve photographs with a scale and orientation, and use the inspection-photo naming guide to connect each image to batch, sample and checkpoint. If trimming or repair is permitted, define the method and reinspect the finished surface.
- Use diffuse and grazing light to reveal different conditions.
- Map finding type, size, location and product relevance.
- Separate normal process texture from pre-defined defects.
- Reinspect any permitted trimming or repair against the same route.
4. Control loose dust, particles and handling contamination
Cleaning must be verified without inventing a universal particle limit
Define the expected cutting, trimming, extraction and cleaning route. Inspect the core, work surface and packaging for loose foam particles, fibers, dirt, oil or other foreign matter. A controlled wipe, tap, filtered-air or enclosed collection check may be used when the method is safe and agreed, but state the area, action, collection medium and evaluation rule. Do not use uncontrolled compressed air that redistributes particles through the workspace.
Review trays, bins, gloves, conveyor contact and storage covers for cross-contamination risks. Isolate cores after cleaning and before insertion into the shell. The sewing-oil containment guide illustrates the value of tracing a contamination window rather than cleaning visible product without addressing the source. If a buyer requires laboratory particle or chemical evidence, that work needs a separately defined method and qualified provider.
- Define trimming, extraction, cleaning and protected storage steps.
- Use a repeatable inspection action and named collection area.
- Prevent cross-contamination after the core has been cleaned.
- Escalate specialized particle or chemical claims to proper testing.
5. Approve cover fit, pack recovery and bulk evidence
The core is released only when it works in the finished product
Insert the conditioned core into the approved inner and outer covers. Check seam alignment, zipper path, corner fill, contour expression, wrinkling, pressure points and ease of assembly. Repeat after the planned packaging and opening sequence because compression or tight folding can change the first presentation. Use the compression-packaging validation guide when the project uses a compressed format, and report the actual recovery sequence without promising performance beyond it.
Sample bulk across foam batches, cutting or mold positions and production periods. Record dimensions, surface grade, particle check, cover fit and packaging status against the core identity. Retain an approved core protected from deformation and compare it on a defined schedule. Buyers can request a finished pillow sample, review pillow directions and include core and pack requirements in the buying brief. Reopen approval if foam, mold, cut program, cover or pack changes.
- Fit the core into the approved production-representative covers.
- Repeat presentation checks after the planned pack sequence.
- Stratify bulk sampling by foam batch and production position.
- Retain a protected reference and reopen review after key changes.
Inspect the core as a controlled 3D component: freeze identity and conditioning, map profile dimensions, classify surface and particle findings, confirm cover fit and link bulk evidence to foam batch and pack route.