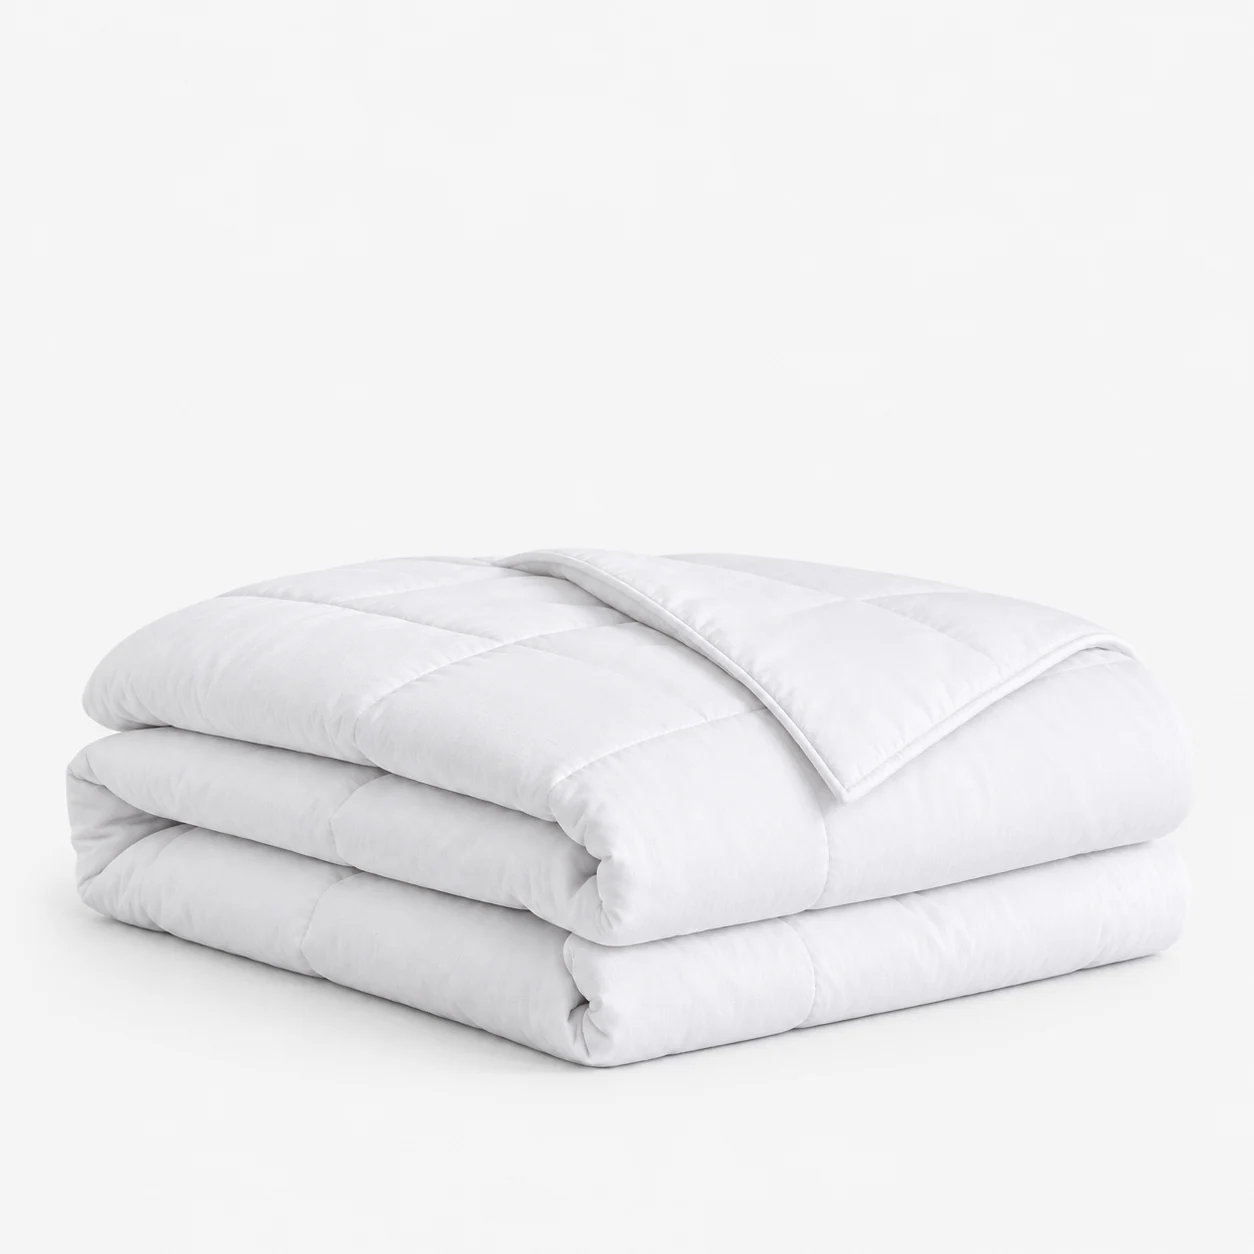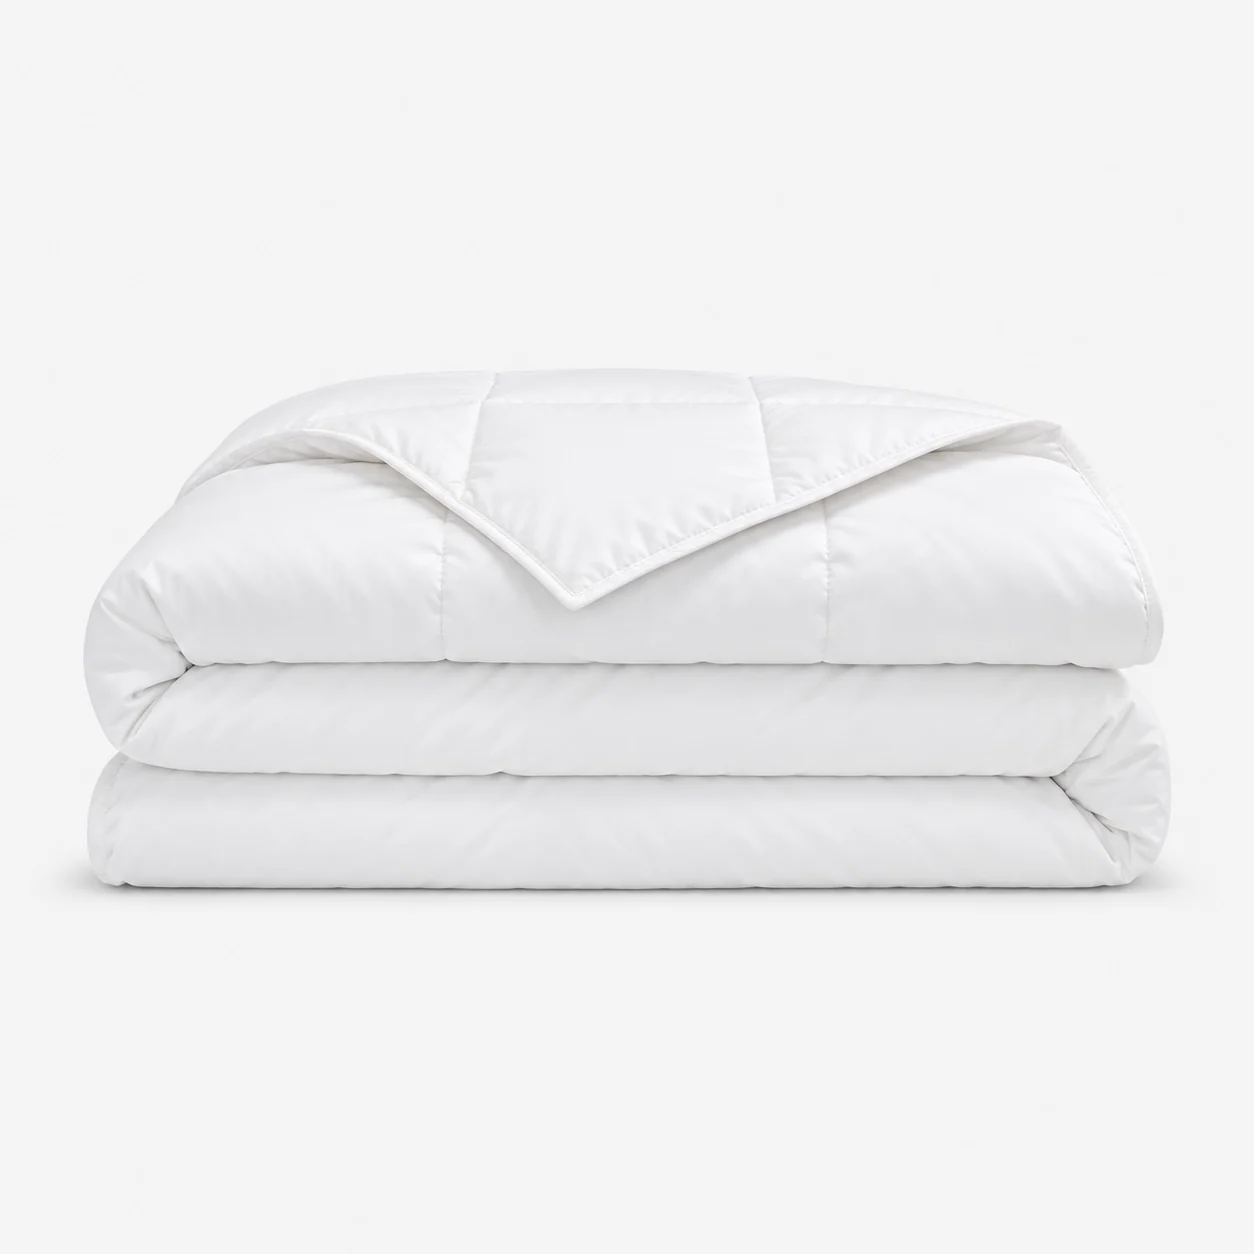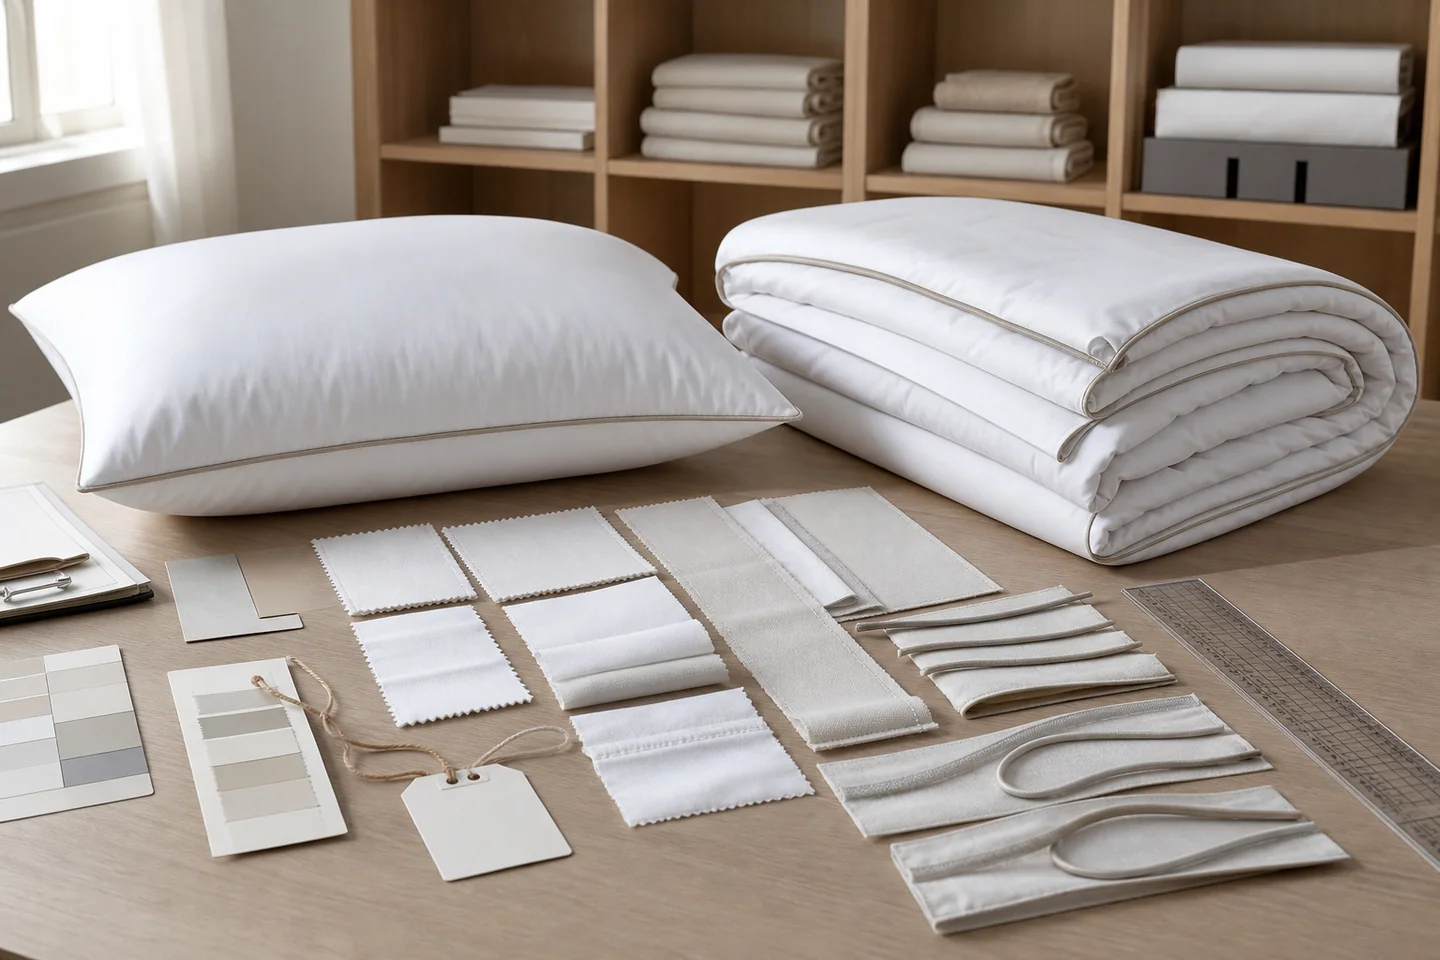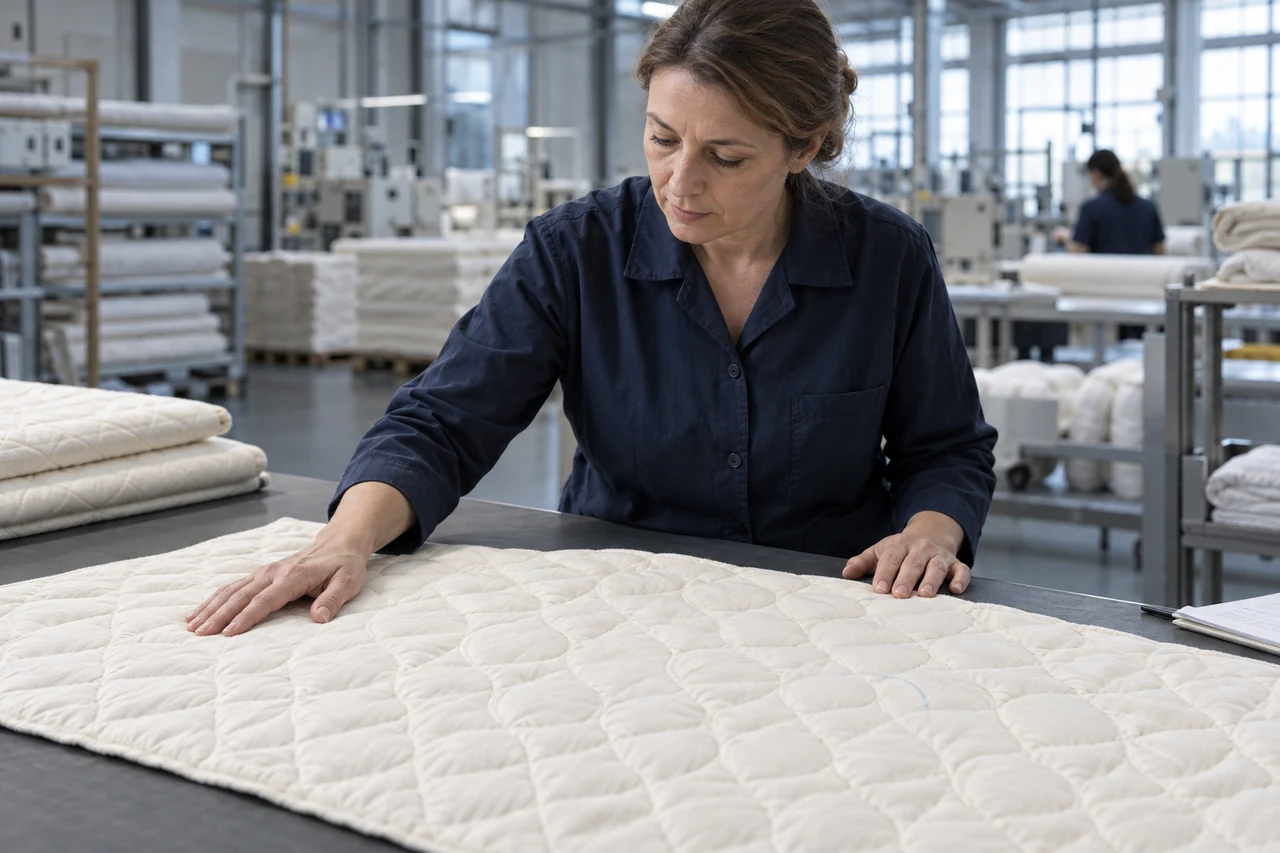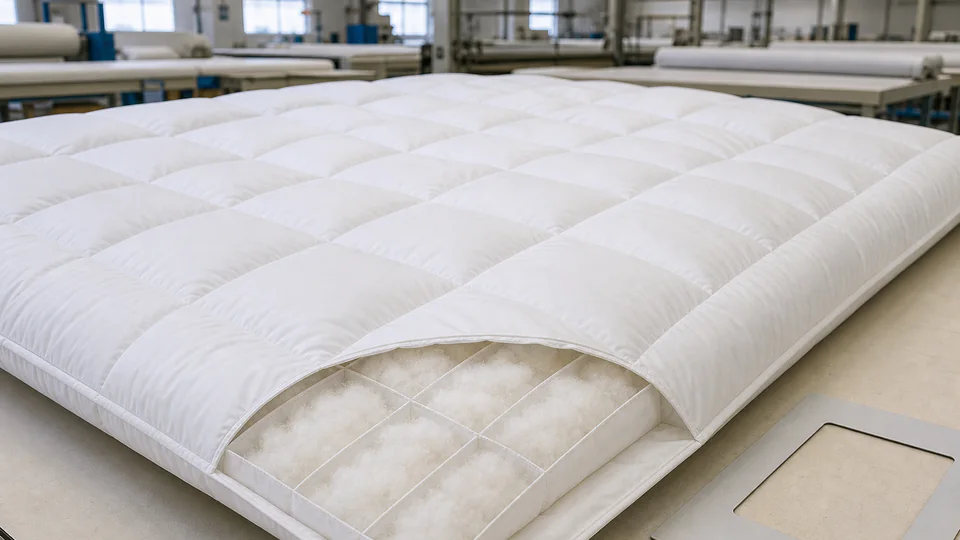
Quilting is both a visual feature and a control system for fill. Pattern scale, stitch paths, baffles, edge zones and process settings determine how evenly a comforter or quilt looks and performs. Buyers need a measurable drawing, an approved production setup and inspection rules for distribution and migration.
Connect pattern geometry with the fill system
Define whether the construction uses sewn-through quilting, box quilting, channel quilting, baffles or a combined structure. Record finished panel size, pattern repeat, line positions, edge offsets and any no-quilt zones. The pattern must suit fill type, fill weight, loft target and expected movement during use and care.
Start from the duvet and comforter fill specification. Large uncontrolled spaces can allow migration, while dense quilting may compress loft or create cold paths. Review the entire system rather than approving a decorative drawing in isolation.
Control pattern placement and machine setup
Show the pattern relative to finished edges, corners, labels and any printed or woven design. Define tolerance for repeat position, symmetry, straightness and matching across joined panels. For computerized quilting, identify the approved file and revision; for guided work, provide durable templates and setup references.
Approve stitch type, density, thread, needle and tension on the production materials. Look for tunneling, puckering, skipped stitches, thread damage and surface marking. Document machine speed and critical settings when they materially affect loft or appearance.
Verify fill weight and distribution by zone
Control total fill weight, but also define how distribution is checked across representative zones. Edge and corner shortages can be hidden by an acceptable total. Agree sample selection, weighing or other measurement method, conditioning time and tolerance for the complete item and relevant sections.
For manual or multi-stage filling, identify sequence and closure points. Use in-process checks before quilting or closing makes correction difficult. Trace fill lot and production line to finished units so a distribution issue can be contained without rejecting unrelated output.
Run handling, care and migration trials
Condition the sample, photograph its surface and assess loft and distribution before testing. Simulate folding, packing, transport, shaking, repeated use and the intended care route as relevant. After recovery, inspect thin zones, clumps, shifted channels, broken quilting and visible pattern distortion.
Define the recovery method and time before judgment. Some fills need controlled lofting after compression, but this should not become an unlimited excuse. Build the trial into the product testing plan with clear acceptance evidence and sample traceability.
Inspect consistently and define repair limits
Create visual defect examples for off-center patterns, missed lines, folds caught in stitching, exposed fill, thin zones and unacceptable repairs. Inspection lighting, table size and product conditioning should allow the item to be assessed fully rather than while tightly folded.
Use the bedding defect-classification guide to set severity and disposition. Define which thread repairs or re-quilting are allowed, how they are identified and when structural damage requires rejection. Preserve an approved golden sample with the production file and fill standard.
Approve quilting and fill as one system. Release the pattern file, placement drawing, stitch setup, total and zonal fill limits, migration trial and repair rules together.