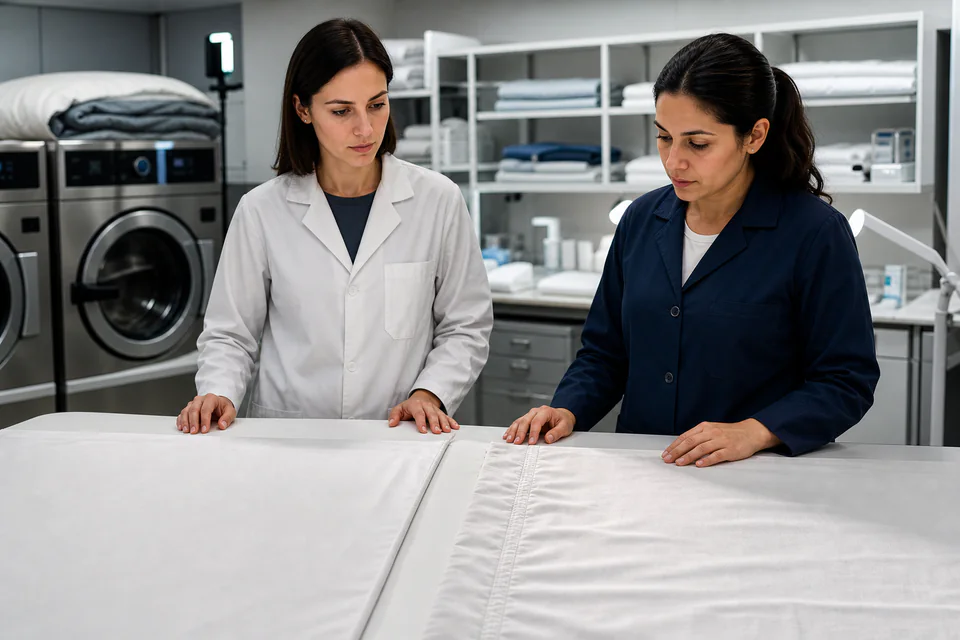
A seam may lie flat at packing and become visibly wavy after laundering. The cause can involve fabric relaxation, differential shrinkage, thread tension, feeding or construction, so a buyer should not diagnose it from one photograph. Seam-puckering approval needs a defined wash state, viewing method and reference grade. This guide focuses on appearance and decision evidence; it does not replace seam-strength, slippage or whole-product dimensional testing.
Define which seams and appearances matter
Map high-visibility and function-sensitive locations
List the seams to be evaluated by product and location: duvet-cover perimeter, pillowcase opening, sheet hems, decorative panels or quilting joins. Identify the face viewed in normal use and the viewing distance. A concealed seam and a prominent top-of-bed seam may need different appearance criteria even when they share a stitch type.
Use the seam and stitch specification guide to define construction inputs, then add a separate puckering requirement for critical locations. Do not use the word smooth without a comparison condition. State whether slight waviness at a folded edge is acceptable and what level changes the intended retail or hotel presentation.
- Seam map by product location
- Normal-use face and viewing distance
- Critical appearance zones
- Approved reference or grade language
Prepare comparable laundered samples
Control washing, drying and conditioning before grading
Record the product identity, fabric lot, thread, sewing line or sample status before laundering. Use the buyer-approved care sequence, load conditions, detergent, drying route and number of cycles. Puckering can change with residual moisture or pressing, so define whether the specimen is evaluated unpressed, lightly finished or under the normal commercial process.
Condition every comparison sample in the same way and do not stretch a seam flat by hand. Measure related dimensional change using the dimensional stability guide, but keep overall shrinkage results separate from appearance grading. Photographing a damp sample next to a fully conditioned reference creates misleading evidence.
- Traceable product and material identity
- Defined wash and dry sequence
- Consistent conditioning and finishing state
- No manual stretching before review
Standardize viewing and grading conditions
Reveal texture without exaggerating it
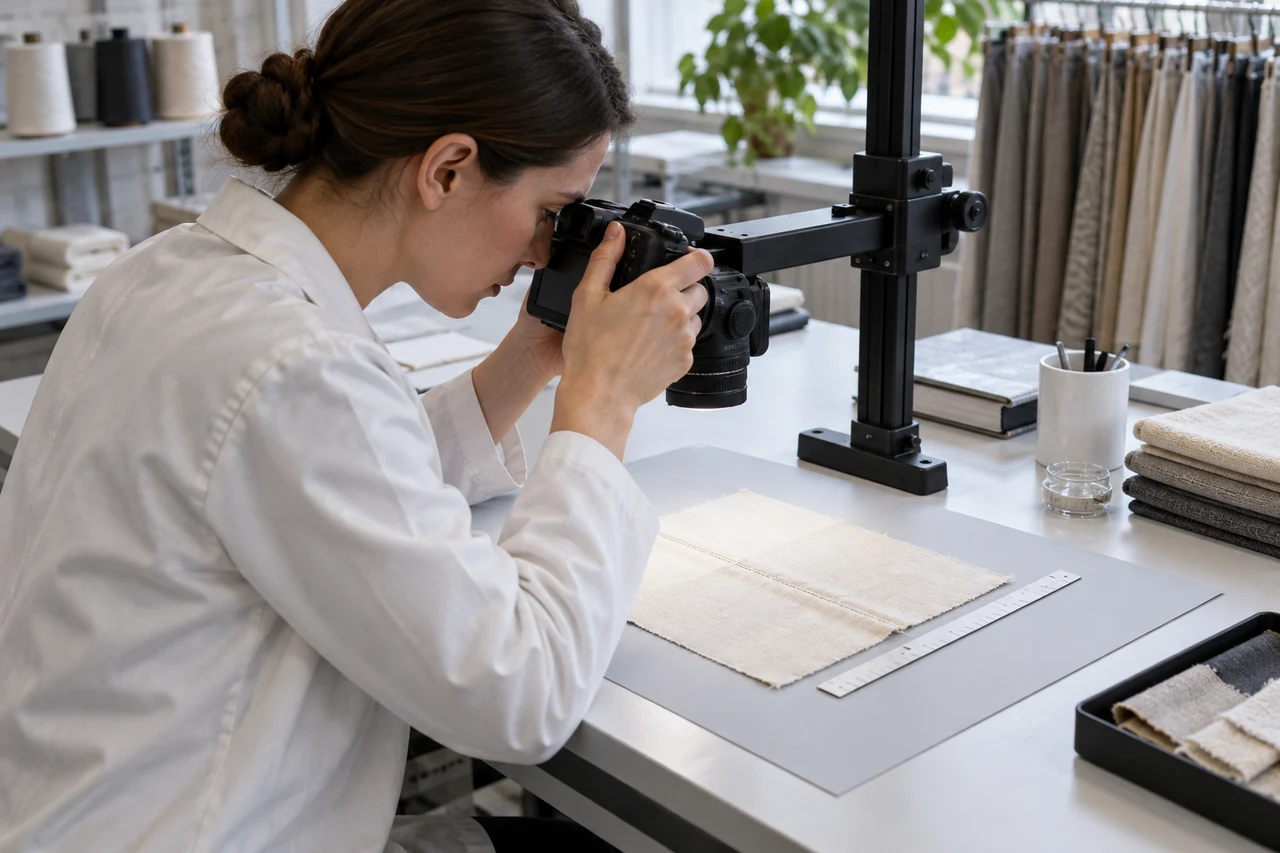
Lay the product on the agreed flat or supported surface without tension. Use consistent ambient light and, when useful, controlled side lighting that reveals waviness. Side light should support comparison, not create a dramatic shadow that makes any seam appear defective. Keep camera angle, distance and exposure consistent across approval and production records.
A physical reference set or buyer-approved photographic grades can make decisions more repeatable. Record the grade by seam location and the observed length, not only a single result for the whole product. Inspectors working under the AQL sampling plan still need a clear defect definition before they can count affected units consistently.
- Untensioned support surface
- Controlled ambient and side light
- Consistent camera position
- Grade and affected seam length
Investigate process evidence before assigning a cause
Separate feeding, tension and material interactions
Compare the seam before and after care, then review stitch balance, thread tension, presser-foot pressure, differential feeding, seam allowance and operator handling records where available. Fabric panels cut in different directions or from materials with different relaxation behavior may pucker even when the machine setting appears stable. The inspection result should trigger evidence review rather than an unsupported diagnosis.
If seam strength or slippage is also a concern, use the separate seam slippage and strength guide. A stronger stitch is not automatically flatter, and adding tension to close an appearance gap may create new distortion. Confirm corrective trials on representative material and repeat the care sequence before changing the approved construction.
- Before-and-after seam record
- Machine and feeding settings
- Panel direction and material compatibility
- Corrective trial through the same care cycle
Make a lot decision with retained evidence
Connect severity, frequency and use impact
Classify findings by the agreed appearance limit and product zone. A repeated severe pucker on the visible top edge may justify a different disposition from isolated minor waviness on a concealed side. Record sample size, affected units, locations and grades, then align rework or lot action with the approved inspection agreement rather than improvising after the shipment is packed.
Keep conditioned approval and failed references protected from pressing or re-laundering. Include seam appearance in the final inspection checklist when it can be assessed before shipment, and identify any post-wash verification performed separately. Buyers may share their laundering and appearance brief to agree the method before development starts.
- Severity and visible-zone classification
- Frequency by sampled unit
- Rework or lot disposition owner
- Retained approval and failure references
Agree the seam locations, wash state, conditioning, lighting and reference grades before testing. A post-wash photograph without those controls is evidence of one sample, not a repeatable acceptance method.