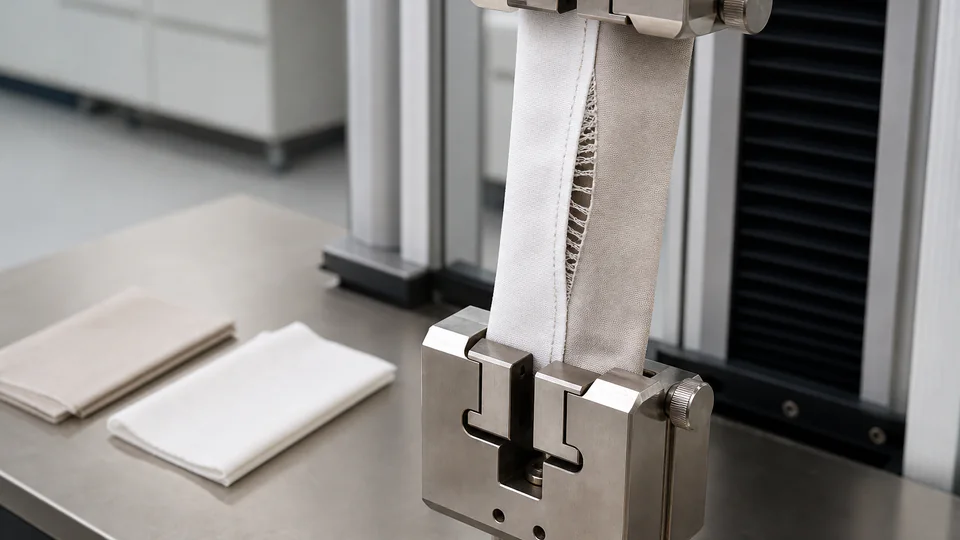
A seam can fail because thread breaks, stitches open, fabric tears or yarns shift away from the stitch line. These failure modes are not interchangeable. Buyers should define the product risk, fabric direction, seam construction and test method before setting acceptance criteria.
Separate seam strength from seam slippage
Seam strength evaluates the force and failure behavior of a sewn assembly, while seam slippage focuses on yarn movement or opening near the seam under a defined load. Record whether the result is thread break, fabric rupture, stitch failure, yarn displacement or another visible change.
Start from the construction fields in the seam and stitch specification guide. A test requirement without seam type, stitch type, stitch density, allowance, thread and fabric direction cannot be reproduced reliably in production.
Map product stress and specimen direction
Identify high-load locations such as fitted corners, closure ends, pillow openings, duvet borders, handles or quilting joins. Consider how the guest, housekeeping and laundry processes load each seam. A decorative low-stress edge and a strained fitted-sheet corner should not share assumptions automatically.
Cut and sew specimens in the relevant warp, weft, bias or product direction. Include production finishing and conditioning because coating, washing or heat can change fabric mobility. Record specimen orientation so results are linked to the real panel layout.
Define method, load and result reporting
Name the buyer-approved method, specimen dimensions, seam preparation, conditioning, test speed, load or extension endpoint and number of specimens. State whether the report must include force, opening size, failure mode, photographs and individual results in addition to an average.
Place the requirement in the product testing plan and identify the exact fabric, color, finish and seam construction represented. Results from a different shade or base fabric may not support a tightly woven or specially finished production lot.
Use failures to improve the complete construction
Depending on the failure mode, review seam type, allowance, stitch density, thread, needle, reinforcement, fabric construction and pattern placement. Increasing stitch density alone can perforate or weaken some fabrics, while a wider allowance may not solve yarn movement in an unsuitable weave.
Record approved changes in the home-textile technical pack and retest the changed construction. Keep the original failure and corrected sample so production teams understand which details are controlling, not merely the final pass result.
Carry the reference into production and inspection
During pre-production, confirm fabric identity, cut direction, seam operation, machine setting and thread. Inspect first output before the full lot proceeds. If fabric construction, finish, thread or seam operation changes, assess whether the approval evidence remains applicable.
Add visible seam opening, puckering, broken stitches, allowance and reinforcement to the final inspection checklist. Laboratory testing and workmanship inspection answer different questions and should support, not replace, one another. Define how many first-output pieces are reviewed from each sewing line and what triggers a stop, segregation or expanded inspection. Record machine, operator group, fabric lot and corrective action so repeated opening can be traced to a process condition instead of being hidden inside an overall defect total.
Approve seam performance only for the identified fabric direction and sewn construction. Report the failure mode, preserve the tested reference and reassess evidence whenever fabric, finish, thread or seam details change.