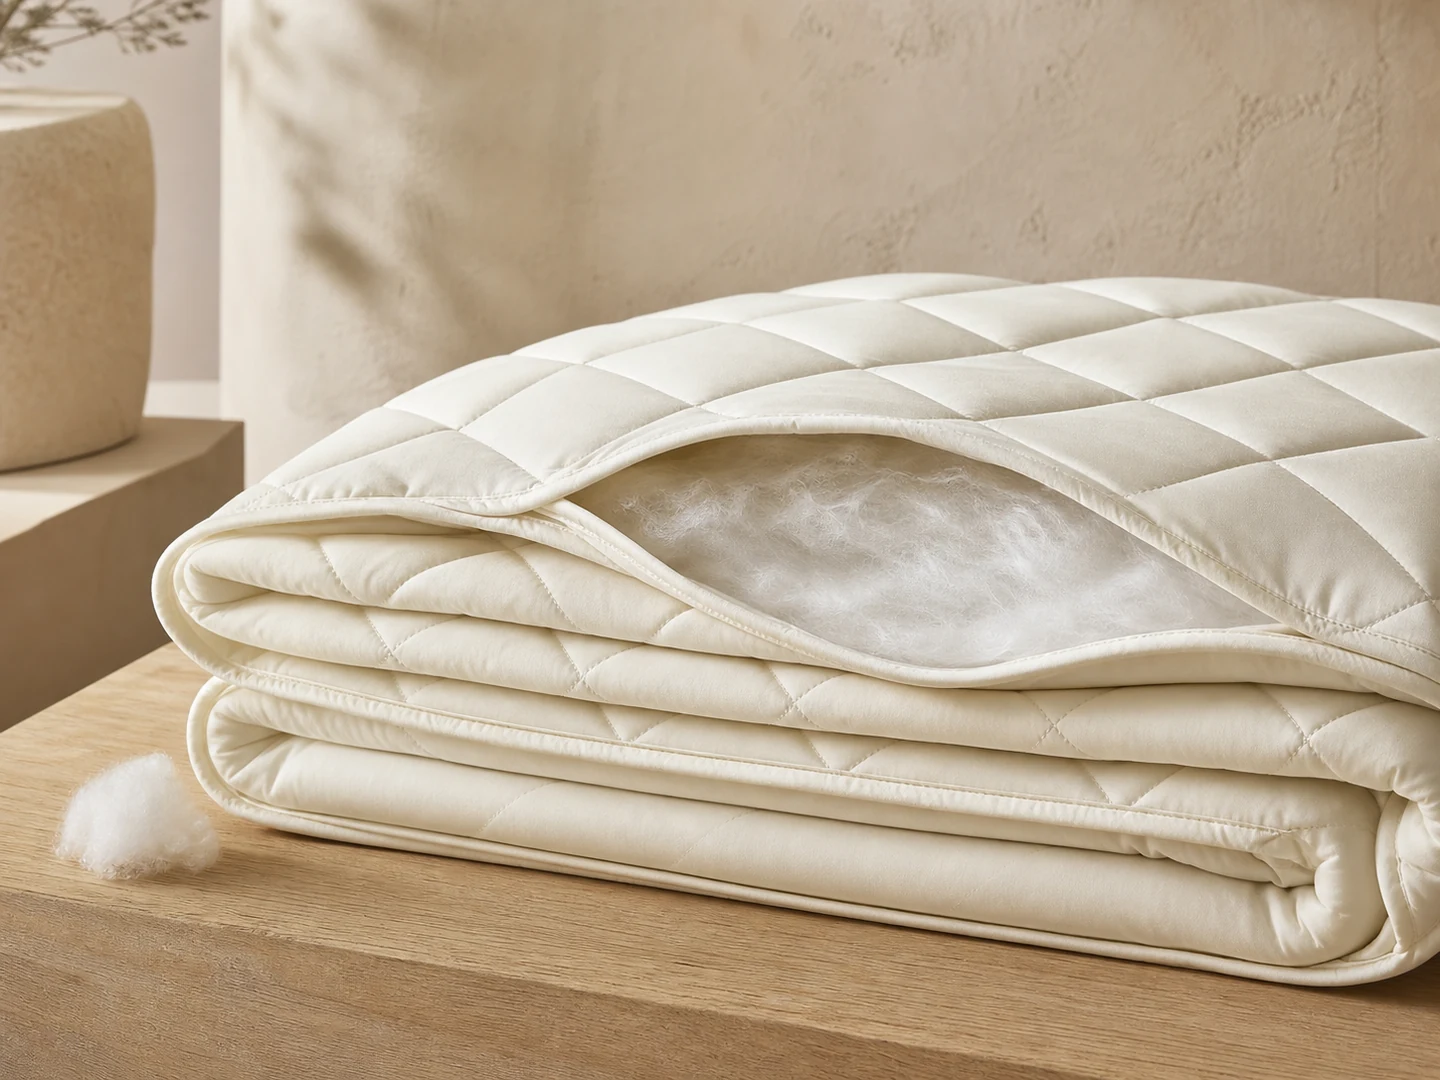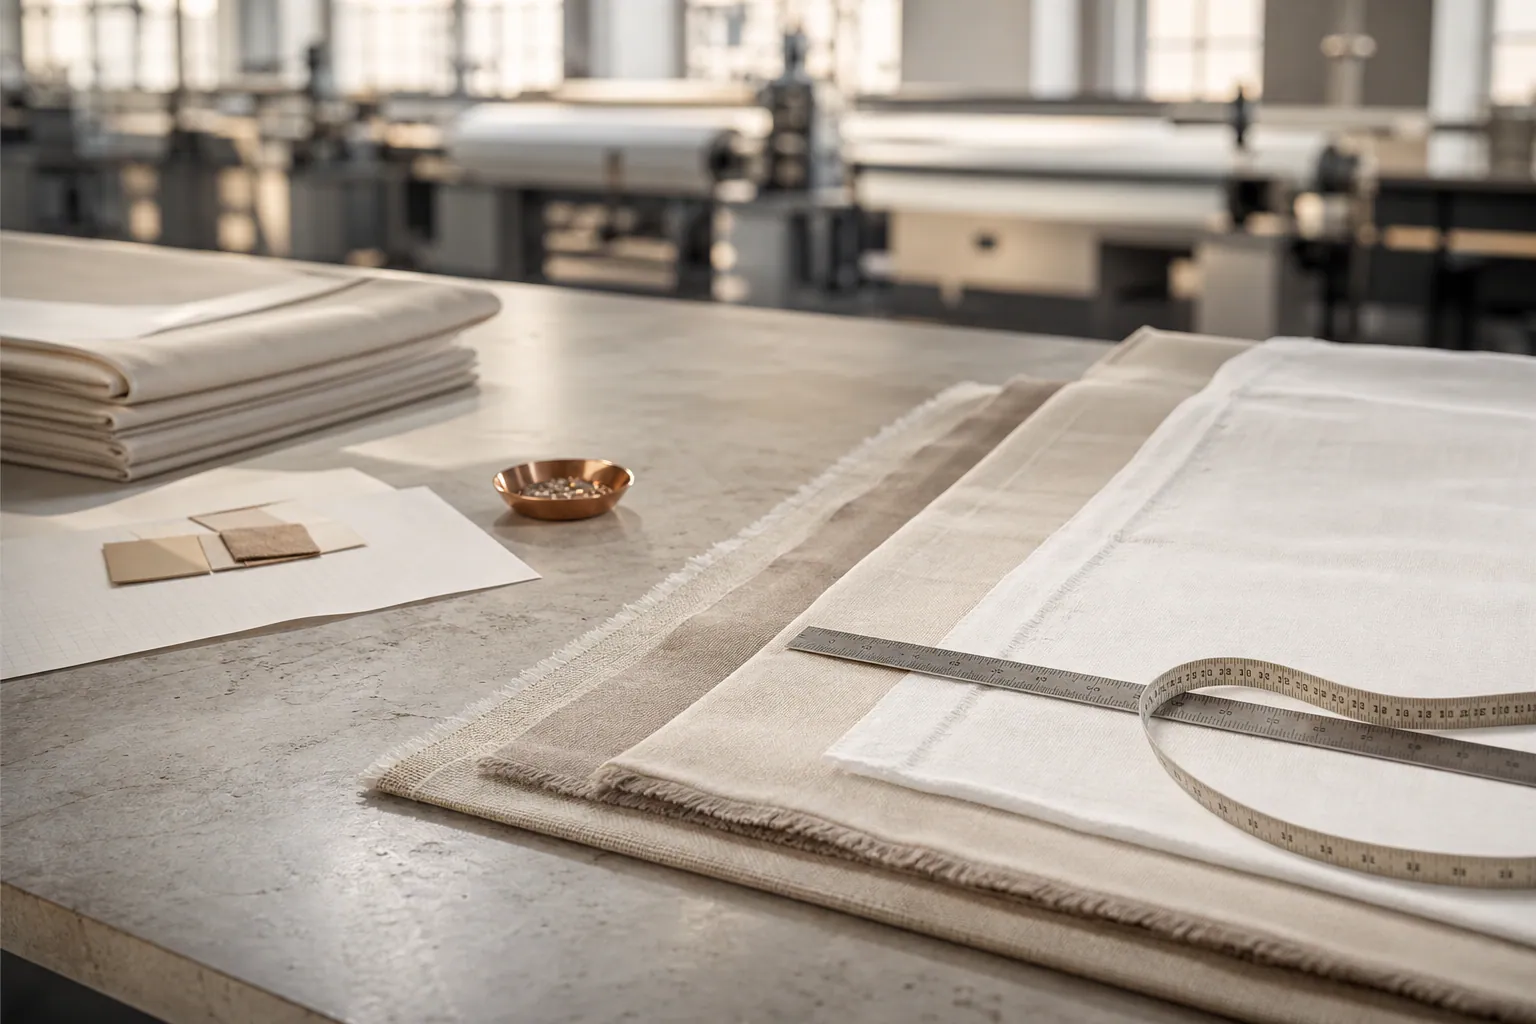
Channel width and baffle alignment influence a comforter鈥檚 visual rhythm, fill movement, drape and repeatability. A drawing that shows only an overall grid can leave unanswered questions about seam take-up, edge channels, tolerance accumulation and how the filled product should be measured. Approval works best when the buyer defines the intended geometry, supplier confirms a production-capable construction, and both parties review a conditioned prototype. This guide focuses on the measurable construction route, not on prescribing one universal channel size or fill system.
Define the construction drawing
Show seam centers, edge treatment and fill path
Begin with finished product dimensions, orientation and a plan view that distinguishes stitched channels, internal baffles and decorative quilting. Dimension the repeat from a clear datum, usually seam center to seam center, and identify how the outermost channel meets the border. The quilting and fill migration guide provides related movement controls, but the drawing here must make the channel geometry measurable before fill is introduced.
Record baffle material, finished height or intended internal geometry only as confirmed construction facts. Show openings used for filling and how they are closed, since closure points can interrupt alignment. If the face and reverse use different panel layouts, document both. Consider size grading deliberately: adding rows, widening channels or changing borders creates different visual and fill outcomes. Approve each size family through a stated rule rather than scaling artwork informally.
- Finished size and orientation
- Seam-center repeat dimensions
- Edge and border treatment
- Fill openings and closure points
Measure an unfilled prototype
Separate sewing geometry from fill effects
Review an unfilled or lightly constructed prototype first. Lay it on the agreed surface without stretching and measure selected channels along several positions. Check parallelism, intersection alignment, border width and cumulative drift from the datum. The seam puckering guide helps distinguish a surface appearance issue from an actual layout error. Record the measurement method, tool and sample condition so the same checks can be repeated.
Inspect baffle attachment from both sides where construction permits. Confirm that internal partitions reach their intended boundaries and do not twist, fold or leave unintended gaps. A visually straight top seam does not prove the internal baffle is aligned. Use a transparent development shell or a controlled opening only during sampling if it helps confirm the internal route, then ensure the production-intent prototype is reviewed without nonstandard alterations.
- Selected measurement positions
- Parallelism and cumulative drift
- Internal baffle attachment
- Production-intent prototype confirmation
Evaluate the conditioned filled product
Observe profile, drape and compartment behavior together
Fill the approved prototype through the production-intent method, distribute the material consistently and allow the product to recover under an agreed conditioning route. Measure channel spacing again without compressing the comforter. Check whether fill pressure changes seam position, pulls the border or creates uneven compartment profiles. The comforter fill specification guide should define the material and target that make this trial meaningful.
Review the comforter flat, draped over the intended bed size and folded for handling. Note underfilled corners, concentrated ridges, empty bands and visible misalignment. Do not judge channel geometry from an immediately unpacked compressed sample if recovery is incomplete. If laundering is relevant, agree on a controlled trial and compare the same measurement points afterward. Record acceptable natural variation instead of demanding a mechanically perfect surface from a soft filled product.
- Consistent fill and conditioning route
- Non-compressive remeasurement
- Flat and draped visual review
- Post-care check when relevant
Set tolerances by product risk
Avoid one tolerance for every feature and size
Choose tolerances after reviewing the process, material and visual consequence. Small local variation may be acceptable where it does not accumulate, while drift across an entire king-size grid can be conspicuous. Separate channel width, border width, intersection offset and finished size in the specification. The dimensional tolerance guide can support overall size planning, but internal geometry needs its own controlled points and escalation rules.
Define what an inspector should do when measurements are near a limit: increase the sample, compare with the approved prototype or refer the lot for review. Keep the rule aligned with the inspection plan and avoid silently averaging high and low channels. For decorative constructions, paired profile photographs can clarify the intended rhythm. For performance-sensitive compartments, add product-specific fill distribution evidence rather than assuming appearance alone confirms internal continuity.
- Feature-specific tolerance table
- Cumulative drift check
- Near-limit escalation rule
- Approved profile references
Control bulk production and change points
Verify geometry before a full run is committed
Use first-off or pilot pieces to confirm guides, machine setup, baffle feeding and edge alignment. The pilot production guide offers a broader release route. For this construction, sample measurements across sewing positions or shifts as appropriate, then inspect conditioned filled units to ensure the process remains stable after filling. Keep records tied to size, lot and revision.
Reapprove affected points if shell fabric, baffle material, machine guide, fill route, size grading or quilting layout changes. Buyers can share a comforter drawing and use brief so a supplier can identify construction questions before quotation and sampling. A clear approval package should include drawing, measurement map, fill reference, conditioning route, accepted prototype and production escalation rule鈥攅nough evidence to preserve intent without inventing performance claims.
- First-off geometry verification
- Conditioned filled-unit sampling
- Size, lot and revision traceability
- Construction change reapproval
Release the construction only after the drawing, seam-center measurement method, edge treatment, conditioned profile, fill behavior and approved prototype are aligned.