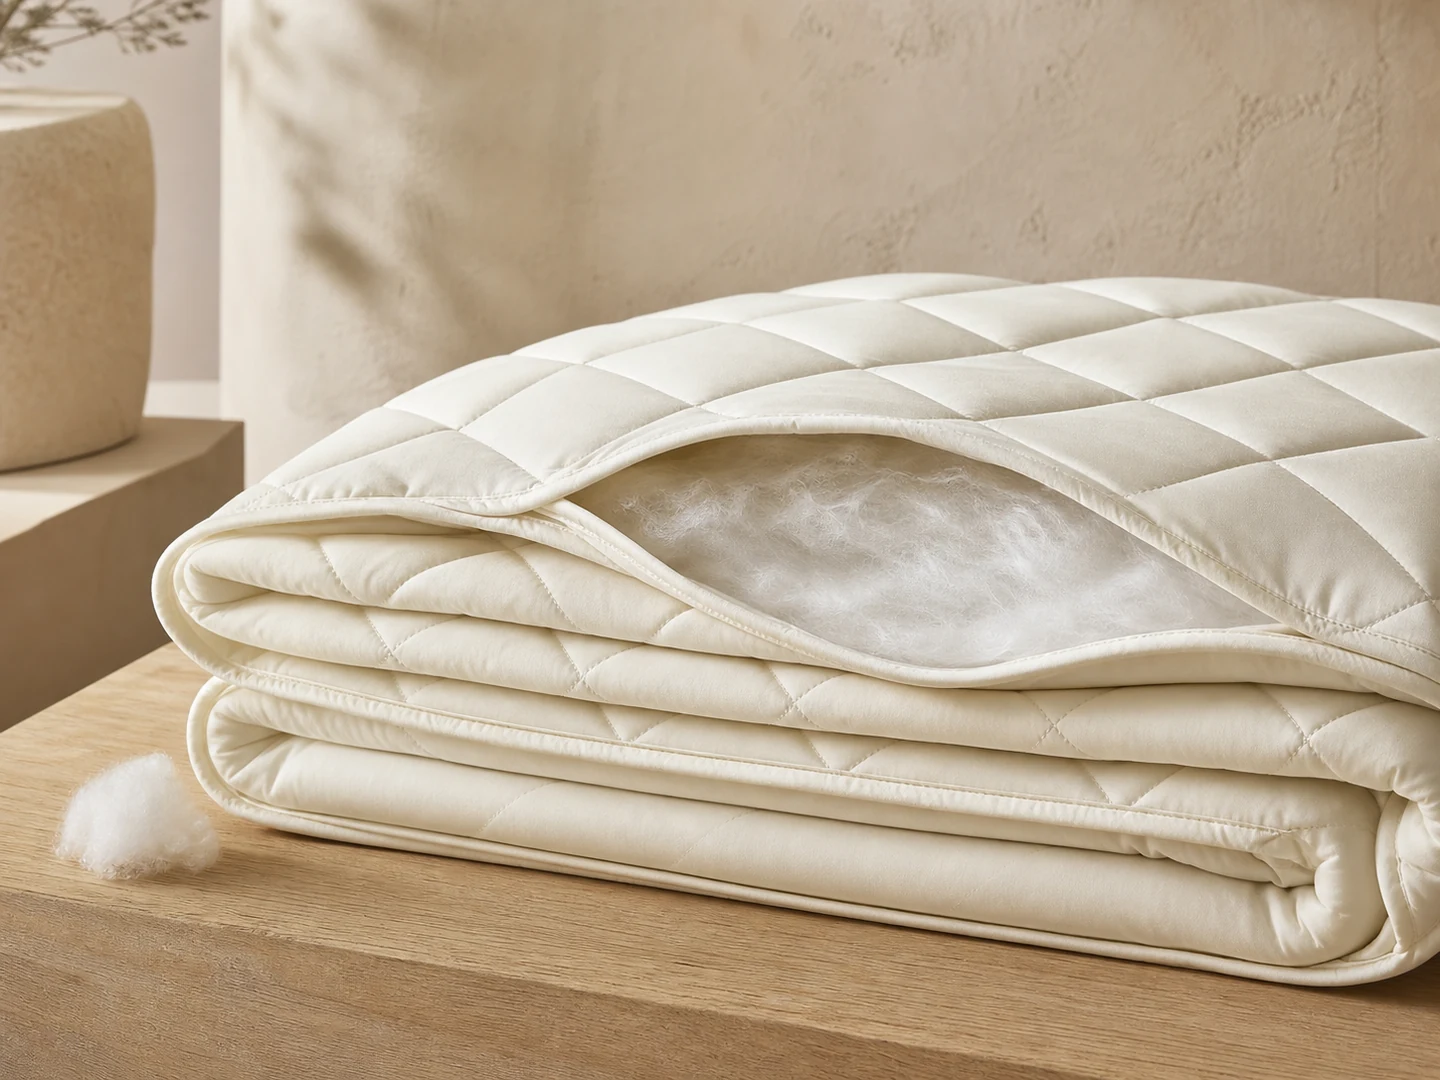
A quilting pattern may look continuous from a distance while hiding skipped stitches, poorly secured thread ends, repeated restarts or repairs that open during handling. These issues are not fully covered by checking pattern dimensions or fill distribution alone. Buyers need a workmanship route that defines where stitch interruption matters, which repair methods are allowed, how the face and reverse are reviewed and how findings are linked to machine and lot. Continuity risk changes with shell weave, fill thickness, quilting equipment, stitch program and end use, so the inspection brief should describe the actual construction. It should also separate a planned pattern start or stop from an unintended gap and a controlled correction from an improvised repair. When evidence records only a total defect count, a buyer cannot see whether one isolated event or a repeated process issue affected the lot. Mapping location, type and disposition creates a more useful basis for shipment decisions and supplier corrective review. This also helps the sampling team cover production periods and machines that could otherwise be hidden behind a single average result. A shared defect vocabulary keeps production, quality, third-party inspection and buyer teams from assigning different meanings to the same visible stitch event. It also gives operators a clear trigger for stopping, correcting and escalating repeated interruptions. The goal is a repeatable decision trail, not a fabricated universal limit for every quilt construction.
1. Freeze the pattern and thread reference
Continuity can only be judged against an approved construction
Record the approved quilting artwork or coordinate program, repeat dimensions, starting orientation, thread identity, needle direction and the relationship between quilting lines and panel edges. Include shell material, fill system and layer count because they influence stitch formation and repair appearance. The quilting pattern and fill-migration guide addresses distribution and pattern geometry; this inspection adds the stitch-continuity and repair layer.
Approve a representative physical panel under normal viewing and handling conditions. Photograph details only as supporting references; retain the sample or a controlled cut section when practical. Define face, reverse and edge zones, then state whether decorative topstitching, tack quilting or continuous multi-needle lines require different review rules. If thread shade is intended to blend, evaluate under agreed lighting rather than assuming any close color is acceptable.
- Identify the controlling pattern, revision and panel orientation.
- Record thread source reference, ticket or size description and approved shade.
- Separate face, reverse, edge and high-visibility review zones.
- Link the written standard to an approved physical quilted sample.
2. Define interruption and repair categories
Skipped stitches, loose loops and restarts need different decisions
Create plain-language categories for an unformed stitch, loose or looping stitch, broken thread, unsecured end, visible knot, overlapping restart, offset restart and needle damage. A generic 'stitching defect' code cannot reveal the failure route or guide corrective action. Use the textile defect-classification guide to connect category and severity to the actual product effect rather than the inspector's preference.
For each category, define the inspection surface, measurement or observation method and disposition authority. A buyer may permit a controlled restart that is secured and visually unobtrusive while rejecting an open gap or an improvised hand repair; another product may require a different rule. State the approved method in the project specification and prohibit unrecorded repair. Avoid declaring that one stitch count or overlap length is suitable for every shell, fill and quilting technology.
- Give each interruption type its own unambiguous defect code.
- State whether measurement follows the stitch path or a straight-line span.
- Define which repairs may be made in-line and which require buyer approval.
- Prohibit trimming that hides an unsecured thread end without correction.
3. Inspect face, reverse and edge transitions
A clean face does not prove the stitch is secure through all layers
Condition the quilted panel as agreed, spread it without stretching and inspect under consistent light. Trace selected quilting lines across the face, then turn the panel to check bobbin or lower-thread formation, loops, nests and pull-through. Review line starts, stops, crossings and transitions into binding or edge seams. The quilt binding and edge-finish guide helps distinguish a quilting interruption from an edge-construction problem.
Inspectors should map the position of each finding by panel zone or repeat coordinate rather than writing 'middle' or 'near edge.' Where several machines or heads contribute to one panel, keep head or station identity available when the production system supports it. That information can reveal a repeated equipment pattern without making an unsupported causal conclusion. Use magnification only to clarify stitch formation; final appearance should also be judged at the agreed normal viewing distance.
- Trace representative full quilting paths instead of isolated close-ups only.
- Review both faces for loops, nests, pull-through and unsecured ends.
- Map findings to a repeat, zone, machine or head when available.
- Inspect start-stop points and edge transitions separately.
4. Validate the repair under handling
A repair is acceptable only after its security and appearance are checked
Review the repaired area against the approved method: thread match, restart alignment, overlap or securing technique, trimmed ends and reverse-side appearance. Photograph before and after when the repair affects lot disposition, but do not let a close-up replace physical handling. Gently flex, fold and manipulate the panel through the movements expected during packing and use. If laundering is relevant to the risk, include the repair in an agreed wash trial rather than promising performance without evidence.
Separate repair authorization from shipment release. The operator or supervisor may be allowed to perform a defined correction, while quality personnel verify the outcome and a buyer representative decides unusual cases. Record the quantity repaired and the area affected so repeated repairs do not disappear into a simple pass result. If the repair changes loft or creates local compression, also review the controls in the fill distribution and baffle guide.
- Compare repaired alignment and thread shade with the approved reference.
- Check the reverse side and all thread ends after correction.
- Run the agreed flexing, folding or laundering sequence before release.
- Record repair quantity, location, verifier and disposition.
5. Sample the lot and close recurring causes
Inspection evidence should support both shipment and process decisions
Choose a sampling plan that reflects order size, product risk and the buyer's agreed inspection framework. Ensure units represent relevant machines, shifts, styles, sizes and production periods where that information is available. The AQL sampling guide explains how to define a lot and sample without treating AQL as a production target. Record every interruption and repair consistently, including accepted repairs where trend visibility matters.
If findings repeat by machine, head, operator period or material combination, isolate the affected scope and open corrective review before simply increasing inspection. Preserve the approved panel, defect map, repair rule and lot summary for repeat orders. Buyers can review the broader quality-control route, request a quilted construction sample and include continuity rules in the project brief. The final release should state what was inspected and what the evidence actually supports.
- Define the production lot and sampling frame before inspection starts.
- Cover relevant machines, shifts and time windows when traceability permits.
- Trend interruption and repair codes instead of reporting only total defects.
- Retain the approved sample, map and disposition record for reorders.
Freeze a physical quilting reference, classify stitch interruptions, inspect both faces and mapped zones, validate every permitted repair under handling, and keep the lot evidence visible for corrective action and reorders.