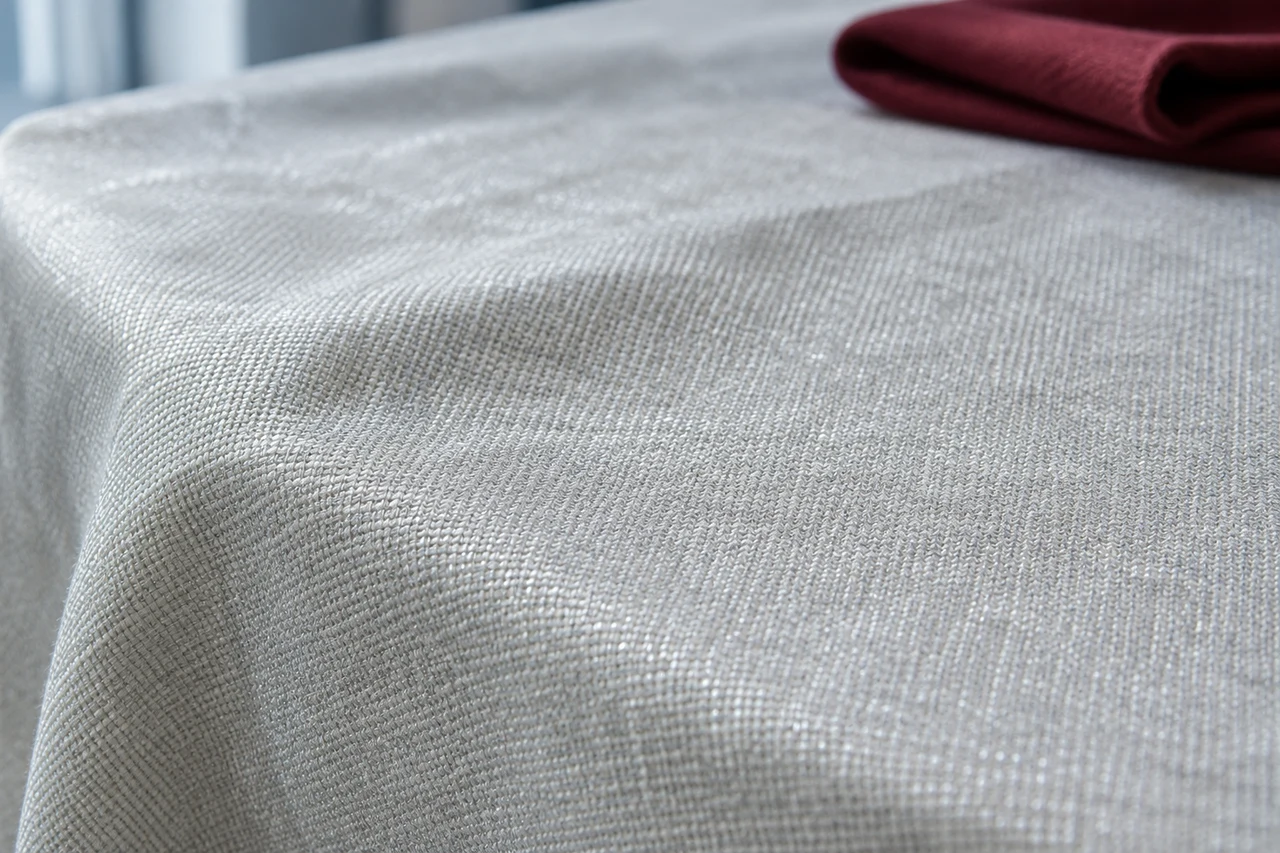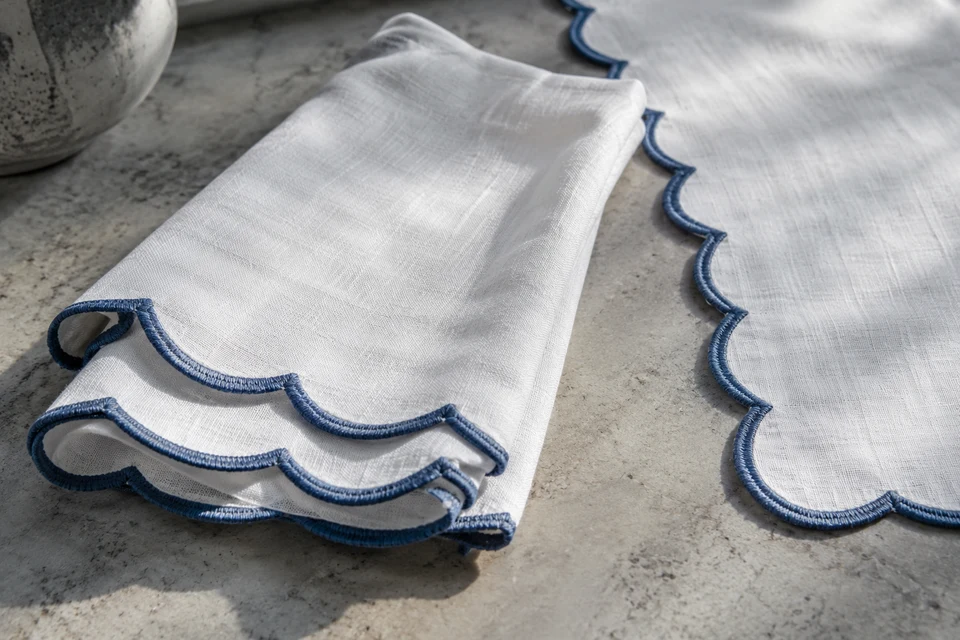
The edge of a scalloped dinner napkin is its main design feature, but buyers often specify only the overall size and border color. The curve repeat, the depth of each valley and the transition around a corner determine whether the finished piece looks deliberate. This guide focuses on that shaped perimeter rather than hemstitch openwork or an ordinary straight hem. Inspection should compare a complete napkin with an approved edge reference, including the condition after the care process agreed for the program.
Define dimensions at repeatable landmarks
Peaks and valleys are different measurement lines
Show where the finished size is measured: between outermost peaks, between valleys or across an identified central line. Record the intended overall outline and the repeating scallop dimensions separately. A napkin can match a nominal width while having a visibly different edge rhythm. Put a simple perimeter sketch in the technical pack and use the same landmarks for sample review and production inspection.
Decide whether the repeat must finish symmetrically at every corner or whether a designated corner variation is acceptable. Compare the edge around the full napkin, not only the straight section selected for a close-up. Where more than one finished size is offered, ask how the repeat will be adjusted. Scaling the outer dimensions does not automatically produce an acceptable number of scallops or the same corner appearance.
- Identify peak-to-peak and valley landmarks.
- Approve the repeat ending at all four corners.
Name the edge construction actually offered
A blue outline can be made in different ways
Request the proposed finishing route and the materials used at the perimeter. An embroidered edge, a bound curve and a faced construction are not interchangeable simply because they create similar silhouettes in a photograph. Identify thread, binding or facing separately in the component record. Keep the supplier's construction description with the physical reference.
Inspect both sides in good light. Look at coverage around the valleys, turning at corners and any exposed cut edge outside the approved design. Do not prescribe a stitch density from appearance alone; the technical owner should set the relevant construction and acceptance limits. If a sample contains an intentionally unfinished edge for development discussion, label it as such and do not let it become the release reference by default.
- Record the finishing route rather than the visual nickname.
- Examine the reverse and the narrow valleys.
Classify shape and workmanship observations
Separate design variation from an unfinished edge
Lay the napkin flat without stretching it into a square. Compare neighboring scallops for unintended changes in depth, a sharp point where a round curve was intended or a valley pulled into a pucker. Inspect thread ends and joins without treating every natural fabric irregularity as the same defect. Use the defect classification framework to agree examples and severity with the buyer's quality owner.
Take a full-outline photograph and a close image with scale for each disputed feature. The inspection photo guide helps prevent a camera angle from exaggerating or hiding the curve. A single pass percentage can conceal one unacceptable corner; record the location and nature of the observation so the maker knows whether the issue is pattern geometry, turning, finishing or presentation.
- Inspect flat, without corrective pulling.
- Record the affected corner or repeat position.
Review the edge after the agreed care sequence
Distortion may appear differently around the perimeter
Ask the technical owner to define conditioning, care and evaluation appropriate to the offered textile and intended instructions. Compare the same dimensional landmarks after that sequence. Observe whether valleys curl, the border draws in or corners settle differently from the straight runs. The stability guide supports a consistent method but does not provide a universal tolerance for every scalloped construction.
Keep pressing and reshaping visible in the record. An edge photographed after careful hand-finishing represents that process, not an untouched wash result. If routine service requires a particular finishing step, include it in the agreed operational trial and assess whether the intended team can reproduce it. Keep material changes, thread changes and revised edge geometry linked to a fresh assessment of the relevant result.
- Measure the same points before and after care.
- Disclose any finishing needed to obtain the accepted shape.
Release a sample that can be inspected consistently
Quote the edge and the complete set
Retain an approved full napkin plus clear perimeter images and the agreed inspection examples. State the finished pack quantity, border color and size combination. Ask whether a contrasting edge color has a separate minimum or setup requirement, and compare offers with the same construction rather than the same product title. Discuss sampling and delivery against the final repeat drawing and material availability.
For retail sets, check how scallops align in the folded presentation without forcing each piece into a misleading shape. For hospitality use, show the intended service fold and the care routine that supports it. Share those inputs with FY Bedding when requesting development review. The release record should allow a new inspector to find the correct measurement line and recognize the accepted corner, not merely match a distant lifestyle image.
- Retain one complete perimeter reference.
- Quote set contents, border construction and color separately.
Approve the scallop rhythm, corner transition and post-care outline as one finished napkin. Nominal size and border color alone are not an inspectable specification.