Small holes appearing beside a bedding seam can be mistaken for weak fabric, poor laundering or seam slippage. Sometimes the yarn was damaged during sewing and the opening only became obvious after handling or care. A useful investigation preserves the evidence and changes one production variable at a time. It does not begin by ordering a stronger thread or a larger needle without understanding the failure. This guide addresses yarn damage around stitch penetration points in textile bedding assemblies; broken-needle recovery and metal contamination remain separate controls. The buyer's objective is to approve a repeatable sewing combination and verify that the correction survives the intended use route.
Recognise the damage pattern before changing the process
Distinguish yarn damage from an opening between yarns
Quarantine the affected samples with their lot and sewing-operation identity. Photograph the seam in its relaxed state and under the agreed gentle examination condition, without pulling it hard enough to create a new failure. Look for broken or disturbed yarns around penetration points and compare them with unaffected areas. The seam slippage and strength guide describes related questions, but a visible gap should not be labelled as slippage merely because it is near a seam.
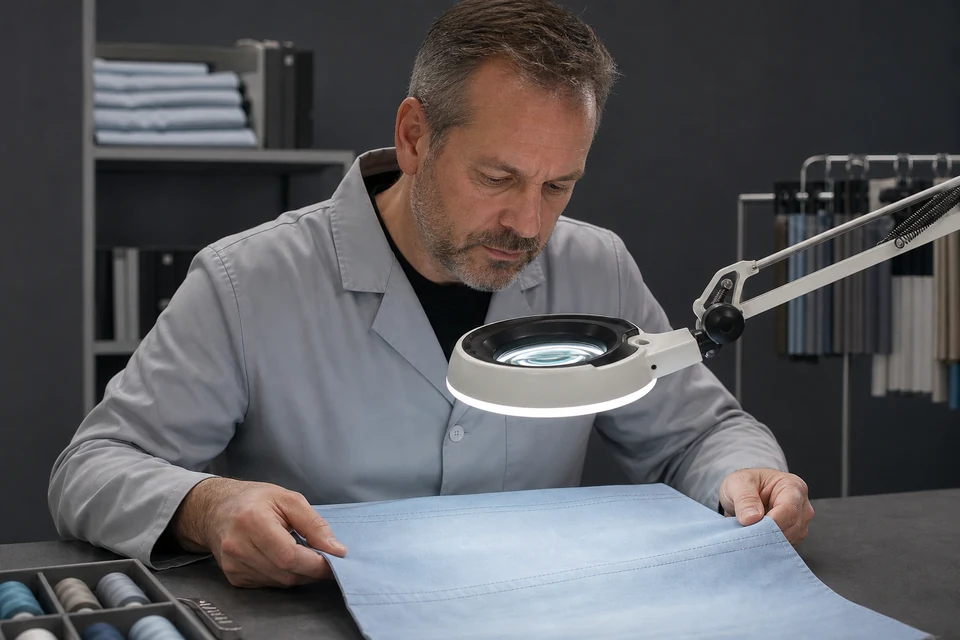
Request a competent technical review where the mechanism is uncertain. Magnified examination may help distinguish yarn severance, abrasion, an existing fabric fault or an opening caused by stitch tension. Preserve an untested sample as well as the examined piece. Record whether the issue appeared before washing, after washing or only after a specific handling operation. Those observations shape the next trial and prevent an otherwise useful photograph from becoming an unsupported conclusion about the supplier's entire process.
- Preserve affected and unaffected samples.
- Record the operation and lot identity.
- Avoid destructive informal pulling.
- Separate observation from root-cause conclusion.
Capture the complete sewing combination
Needle choice cannot be reviewed in isolation
Record the machine and operation, needle system, size and point, thread specification, stitch formation, stitch density, fabric layers and any backing or interlining. Also note the needle's service history and whether the fault appeared after a change. Groz-Beckert's technical guidance identifies needle size, point selection and condition among the relevant factors, while also discussing machine surfaces, speed and material condition. These are investigation variables, not permission to change a machine outside its approved setup.
Ask the production technician to check the relevant machine components and handling route using the maker's instructions. A damaged contact surface can undermine a trial even when the needle itself is correct. The sewing-thread specification guide helps keep thread identity consistent, and the seam and stitch guide provides the construction record. Avoid treating a catalogue recommendation as proof that an untested combination will work on this fabric.
- Record needle system, size and point.
- Identify thread and fabric layers.
- Check service history and machine condition.
- Keep adjustments with trained technicians.
Run controlled trials on representative material
Change one variable and retain every result
Prepare trial pieces from the actual proposed fabric and relevant finishing state. Keep the seam construction and evaluation conditions constant while the technical team varies a defined parameter. Label each trial in the record so the best-looking sample cannot become detached from its settings. Include starts, stops, corners or multilayer transitions if those are where the fault occurs; a straight seam in a convenient offcut may not represent the demanding operation.
Inspect the trials before and after the agreed handling or laundering stage. A combination that looks clean immediately after sewing may reveal damage later, so the timing of the check belongs in the approval record. The product-testing plan can schedule these checks before full production. If more than one factor must change together, describe the combination explicitly and do not claim that the result proves which individual factor caused the original problem.
- Use production-representative fabric.
- Include difficult transitions and corners.
- Retain the settings with each trial.
- Check immediately and after agreed care.
Validate the correction without creating another defect
A smaller hole is not the only acceptance criterion
Review stitch continuity, seam appearance and functional strength alongside the damage observation. Reducing one problem can introduce another if the changed combination is poorly matched to the material or operation. Inspect both sides and the inside of the assembly where accessible. The stitch-continuity inspection guide is useful when the affected product is quilted, because a repair may hide the first failure without demonstrating stable production.
Agree the acceptance boundary with the buyer and technical reviewer before choosing the winning trial. Do not invent a universal acceptable hole size or a blanket guarantee of zero damage from a brief test. Record the sample count, material lots and operational conditions actually represented. If the trial does not reproduce the original fault, keep that uncertainty visible and consider whether another process step, fabric lot or care route needs investigation.
- Check continuity and appearance as well as holes.
- Inspect both sides of the assembly.
- State the represented lots and conditions.
- Keep unresolved causes visible.
Release the sewing setup and monitor recurrence
The approved trial must reach the production line
Transfer the approved combination into the operation sheet and identify who can authorise later changes. Include the checking frequency, sample retention and reaction plan in the production control record. If damage reappears, hold the affected scope while the team investigates rather than repeatedly repairing individual pieces without tracking the pattern. The CAPA guide connects immediate containment with verification that a corrective action remains effective.
Keep broken-needle and metal-control procedures active as a separate safety system; a successful yarn-damage trial does not replace them. For a new project, send FY Bedding a sewing-quality brief with the fabric, seam photographs, care route and known failure location. That information supports a focused sample discussion. Any production claim should remain limited to the construction and evidence actually reviewed, not extended to every bedding category or factory operation.
- Release the full approved sewing combination.
- Define checking and escalation responsibilities.
- Track recurrence instead of isolated repairs.
- Keep metal-control procedures separate.
Can the team reproduce the correction on the relevant material and operation while showing that it did not introduce skipped stitches or another seam defect?
Method references: Groz-Beckert: selecting needles for knitted and woven fabrics; Groz-Beckert: sewing problems and material damage.